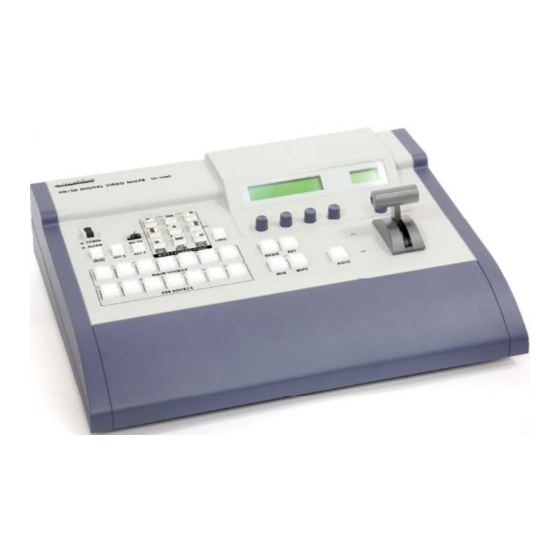
Datavideo SE-1000 Panduan Tambahan - Halaman 6
Jelajahi secara online atau unduh pdf Panduan Tambahan untuk Beralih Datavideo SE-1000. Datavideo SE-1000 7 halaman. Datavideo se-1000 switcher: supplementary guide
Juga untuk Datavideo SE-1000: Panduan Referensi (4 halaman)

1) Connect your cables as shown in the diagram above. The external
monitor will be used to preview your mix and preview the quality of
your luminance (luma) key (detailed later on this page).
2) Confi gure the switcher for your input signal type.
Press FUNC and
SETUP and select
SETUP
FUNC
PGM
the F1 setting
"FORMT 4/15".
Select the incoming signal type, in
this case "480/59i", then press F4
to confi rm your selection.
3) Go to the "Format/Standard Converter" above the T-bar. Turn the
dial to "CH1" and press the dial to confi gure Channel #1. Note: We
are confi guring the internal converter output signal type. It will auto-
detect the input signal type.
4) "F1" under CH1 sets the output to SD or HD
CH1
FN01
by pressing the selector and turning it to cycle
SD
the setting. To deselect the function, press the
knob and turn the dial to "F2".
5) "F2" under CH1 sets the signal output type
depending on whether "F1" is set to HD or SD.
FORMAT/STANDARD
CONVERTER
To make changes to the signal output format, press
the knob and select "480iCVBS". This setting
is required if you are using TLM-433 monitors.
6) The fi nal step requires us to confi gure the button crosspoints.
Press FUNC and XPT to enter the crosspoint setup. Turn the F1 dial
to "XPTAS 2/3" and set the
crosspoints as follows:
XPT 1 = IN1, XPT 2 = IN2,
XPT 3 = IN3, XPT 4 = IN4,
XPT 5 = IN5, XPT 6 = DVI,
XPT 7 = BLK
SE-1000 Applications
Luma Key Masks and External Monitor
FORMT
| MODE
4/15
| 480/59i
F1
F2
F3
XPTAS
| XPT
| SIG
2/3
|
1
|
IN1
F1
F2
F3
7) To set up the luma key, you'll need to have your matte source
prepared beforehand; white areas of your matte will be fi lled with
the key fi ll, while the black areas will be fi lled with the key background.
Gray areas will mix the background and fi ll depending on the value
of the gray. Matte images can be uploaded via the SE-1000's image
transfer tool or through the DVI input. For this example we'll use the
DVI source. The image we'll be using for a matte will be served as a
|
PowerPoint ® slide.
| EXEC
F4
8) Press FUNC and KEY. Turn the F1 knob to
"KEY 1/7". Using the menu knobs, set TYPE to "LIN",
INV to "OFF", and PVW to "ON".
K-ADJ
| CLIP
2/7
| 50
F1
F2
10) Turn F1 to "FILL 3/7". Setting TYPE to "BUS" will allow you to key
in your video footage (next step).
KEY-S
KEY-F
12) To bring up your fi nal luma key composite, simply press KEY and
when you're ready, press TAKE to cut straight to it or use the T-bar to
transition to it.
|
|
F4
9) Turn the F1 knob to "K-ADJ 2/7".
| GAIN
| DENS
Here you will adjust clipping,
| 150
| 100
gain, and density to fi ne tune
F3
F4
the keying. A good starting point
is to set CLIP to "50", GAIN to
"150", and DENS to "100".
11) To select the matte image, hold down KEY-S
while selecting the crosspoint (in this case, #6).
Hold down KEY-F while selecting one of your video
sources to select the fi ll.
Monitor
YUV Breakout
Cable
Output Recorder
FUNC
KEY
