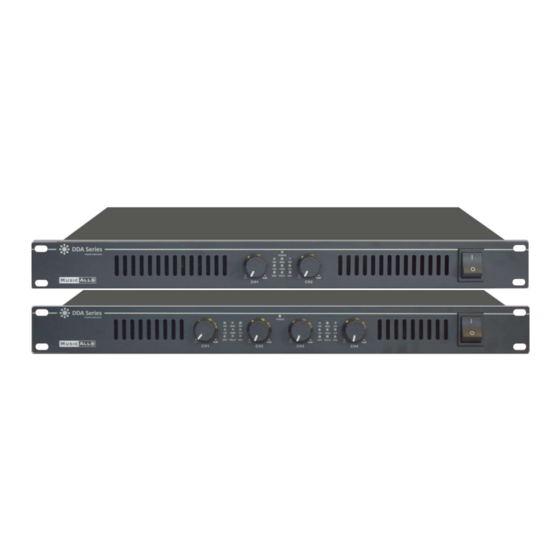
Dateq DDA-4300 Panduan Instalasi dan Pengoperasian - Halaman 6
Jelajahi secara online atau unduh pdf Panduan Instalasi dan Pengoperasian untuk Penguat Dateq DDA-4300. Dateq DDA-4300 8 halaman. Class-d power amplifier

AMPLIFIER OPERATION GUIDANCE
Setup
Before operating the DDA-x300 series amplifier, check the mains supply voltage and connect the IEC inlet to the
mains power supply using the power lead supplied (or equivalent). Ensure that the cooling vents at front and rear are
not covered or obstructed in any way with adequate space for air-flow through the unit.
Each side of the DDA-4300 series amplifier can be operated as an independent pair of channels or as a single com-
bined output in Bridge mode. Set the mode using the selector switch for the relevant pair of channels (rear panel 7).
Bridge mode offers the option of operating the DDA-4300 as a stereo amplifier into 2 larger 8 speakers. It is also
Ω
possible to operate one side in Bridge mode to create 1 high output channel with the other side in stereo, which can
be useful to power a large sub and a pair of satellite speakers (left + right).
Stereo mode
Connect Left and Right speakers to Channel 1 and Channel 2 outputs via the SPK (rear panel 2, 3) . For SPK wiring,
connect + and - wires to pins 1+ and 1-. Ensure that the combined load on each channel is no lower than 40 (for
speakers in parallel, 8 + 8 = 4 ) Connect line level Left and Right inputs to the CH 1 and CH 2 XLR inputs ( rear
Ω
Ω
Ω
panel 6, 8)
Parallel mode
Connect the speakers to the speaker outputs as described above but both outputs will only receive a mono signal from
the CH 1 XLR input ( rear panel 8) and is controlled by CH1 volume control ( front panel 1)
Bridge mode
Bridge mode is different to the other 2 modes in that it combines both output channels to a single mono output. This
mode enables double the power to a single speaker output compared with Stereo or Parallel modes. The difference is
that the speaker load must be no lower than 8 , whether a single speaker or combined load. Bridge mode can be
Ω
useful especially when driving a large, high power subwoofer. Connect speaker(s) to the Channel 1 SPK output.
Connect the "+" speaker wire to amplifier 1+ (rear panel 3) and the "—" speaker wire to amplifier 2+ (rear panel 3).
Incorrect speaker wiring can damage the amplifier! Bridge output receives a mono signal from CH 1 XLR input (rear
panel 8) and is controlled by CH 1 volume control (front panel 1)
Operation
With channel gain controls (front panel 1, 5) turned fully down (anti-clockwise), switch on the power (front panel 6) and
the LED POWER indicator will light. Playing the input signal into the connected channel inputs, gradually increase the
relevant gain controls (only CH 1 will have an effect in Bridge mode). The amplified signal should be heard through the
speakers and the SIG indicators (front panel 2, 4) should respond to the audio output. Increase the volume controls to
the required level. Alongside the SIG indicators are CLIP indicators, which should only light very briefly on the loudest
transients or spikes in the audio. If the CLIP LEDs light for more than a fraction of a second at a time, the volume
controls should be turned down or input signal will need to be reduced.
Before powering down, turn down the volume controls to avoid loud pops or noises through the speaker.
6
