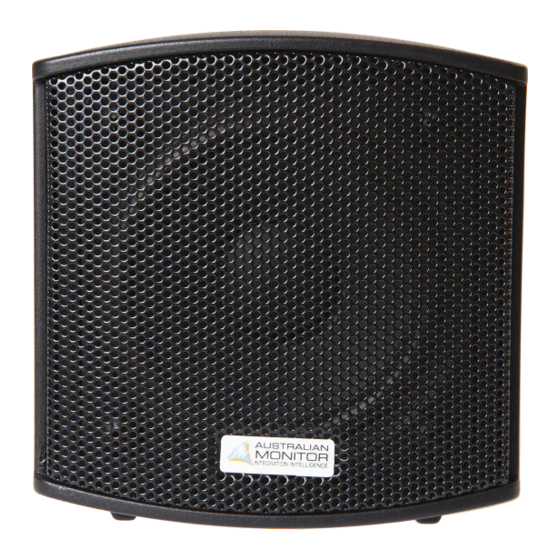
AUSTRALIAN MONITOR TXG10 Panduan Instalasi dan Pengoperasian - Halaman 5
Jelajahi secara online atau unduh pdf Panduan Instalasi dan Pengoperasian untuk Pembicara AUSTRALIAN MONITOR TXG10. AUSTRALIAN MONITOR TXG10 9 halaman. Txg series
Juga untuk AUSTRALIAN MONITOR TXG10: Panduan Instalasi dan Pengoperasian (9 halaman)

TXG10 shown here
1
2
3
1
Direct 8 Ohm Input
The TXG10 provides direct 8 Ohm connection via
this pair of spring loaded push terminals. When using
the 8 Ohm direct input terminals, the 6 W terminals
should not be used.
2
6W 100V Input
The TXG10 provides a 6 W 100 V input via this pair
of spring loaded push terminals. When using the
6 W 100 V input, the 8 Ohm terminals should
not be used.
3
Mounting Point
This thread point is used to attach the TXG10 to
the wall mounting bracket.
TXG SERIES INSTALLATION AND OPERATION MANUAL
REAR PANEL
TXG50 shown here
4
Voltage Tap Select Switch
This switch provides screw driver selection of the
desired 100 V transformer tap or the 8 Ohm low
impedance transformer bypass option.
5
Speaker Input
Speaker input is via a pair of colour coded binding
post terminals. The black terminal is negative, the red
terminal is positive.
6
Mounting Points
The wall bracket may be fitted to the mounting points
concealed by the plastic bungs fitted.
Remove these bungs prior to installing the wall bracket.
6
4
5
6
PAGE 5
