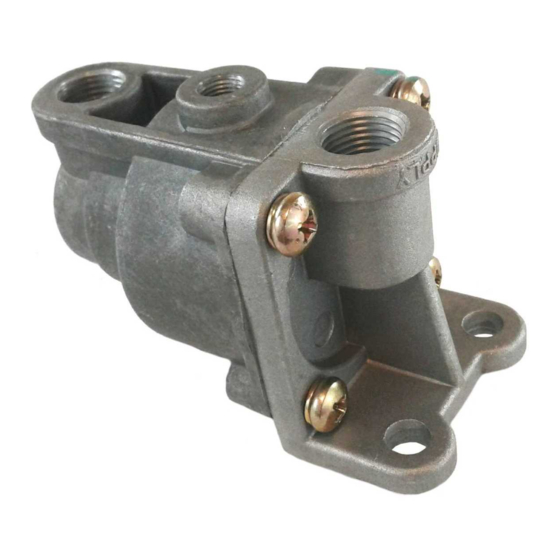
BENDIX LQ-5 BOBTAIL RATIO VALVE Manual - Halaman 7
Jelajahi secara online atau unduh pdf Manual untuk Unit Kontrol BENDIX LQ-5 BOBTAIL RATIO VALVE. BENDIX LQ-5 BOBTAIL RATIO VALVE 9 halaman. Bobtail ratio valve

5. Make certain all air channels are clear and free of
obstruction.
6. Inspect all pipe threads and make sure they are clean
and free of thread sealant.
7. Inspect all air line fittings for corrosion and replace as
necessary.
ASSEMBLY
1. Before assembly, lubricate o-rings, pistons, and body
and cover bores with the lubricant in the Bendix mainte-
nance kit.
2. Install o-rings (3 & 4) on proportioning piston. Install
o-rings (2 & 4) on blend back piston. Install o-ring (1) on
cover.
3. Place inlet/exhaust valve (5) into the inner diameter of
the proportioning piston and retain with valve spring (6).
Use needle nose pliers to install the spring by grasping
it on the bar that intersects its end and turning clock-
wise while pressing down. The bar must be away from
(not touching) the valve.
Note: Make sure spring coils do not overlap each other
as the spring compresses into the proportioning piston.
Also, make sure the valve is square, contacts the seat,
and doesn't bind.
4. Insert the proportioning piston into the small bore of the
blend back piston and install the piston assembly in the
body.
5. Install spring seat into the piston assembly bore, small
end first.
6. Install the "initial delivery" spring on the inner wall of the
spring seat.
7. Install the blend back spring in the inner diameter of the
blend back piston so that it surrounds the "initial
delivery" spring.
8. Place the cover on the body in the proper position, as
marked in Disassembly, Step 2. Make sure the springs
are square when the cover is attached to the body.
9. Using the Phillips head screws and their lock-washers,
secure the cover to the body. Torque the screws to 50-
80 inch pounds.
10. Install all air line fittings, making sure thread sealing
material does not enter the valve.
™
11. Mount LQ-5
valve on the vehicle and perform Operation
and Leakage Tests before returning the vehicle to
service.
7
