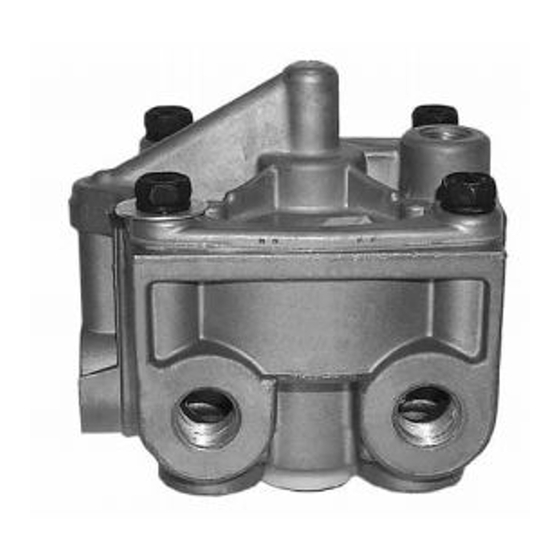
BENDIX R-12P PILOT RELAY VALVE Manual - Halaman 8
Jelajahi secara online atau unduh pdf Manual untuk Unit Kontrol BENDIX R-12P PILOT RELAY VALVE. BENDIX R-12P PILOT RELAY VALVE 8 halaman. Pilot relay valve

CLEANING & INSPECTION
1. Using mineral spirits or an equivalent solvent, clean and
thoroughly dry all metal parts. Do not damage bores
with metal tools.
2. Wash all non-metallic components in a soap and water
solution. Dry thoroughly.
3. Inspect interior and exterior of all metal parts for severe
corrosion, pitting, and cracks. Superfi cial corrosion
and/or pitting on the exterior of the body and cover
is acceptable. Replace the entire valve if the body or
cover interior show signs of corrosion or pitting.
4. After washing, inspect relay piston for cracks, wear,
or distortion. Replace the valve if these conditions are
found.
5. Make certain the air channel running from the cover
through the top surface of the body to the supply port
is clear and free of obstruction.
6. Inspect the pipe threads in the body. Make certain they
are clean and free of thread sealant.
7. Inspect all air line fi ttings for corrosion. Replace as
necessary. Remove all old thread sealant before
reuse.
8
BW1711 © 2007 Bendix Commercial Vehicle Systems LLC. All rights reserved. 7/2007 Printed in U.S.A.
ASSEMBLY
1. Before assembly, lubricate all o-rings, seals, and pistons
as well as body and cover bores, using the lubricant
provided in the maintenance kit. Use all of the lubricant,
and spread it evenly on all rubbing surfaces.
2. Install valve retainer(11) on inlet/exhaust valve(12) so
that the fl ange of the retainer surrounds the rubber
portion of the valve.
3. Install inlet/exhaust valve(12) in the body.
4. Install valve spring(10) over the inlet/exhaust valve in
the body.
5. Install large and small diameter o-rings(8) and (9) in
exhaust cover(7).
6. Place the exhaust cover on the inlet/exhaust valve
spring. Then depress the cover against the spring's
force into the body. Secure the cover with snap
ring(6).
7. Install o-rings(4) and (5) onto the relay piston. Then
place the reserve spring in the piston and install the
piston into the body.
8. Install the load piston's o-ring(3) onto the load piston.
Then install the load piston into the cover, small end
fi rst.
9. Install small o-ring(1) that seals the internal channel
and large o-ring(2) onto the cover.
10. Place the cover on the body and secure with its four
fasteners. Torque to 120 - 150 in. lbs.
11. Perform OPERATIONAL AND LEAKAGE TESTS before
returning the vehicle to service.
