Gage Bilt GB743SRAVT Manual - Halaman 8
Jelajahi secara online atau unduh pdf Manual untuk Peralatan Gage Bilt GB743SRAVT. Gage Bilt GB743SRAVT 9 halaman. Installation tool
TROUBLESHOOTING
Providing all maintenance conditions have been met, follow this systematic approach to diagnosis.
1. NO OPERATION WHEN ACTUATOR LEVER ASSEMBLY IS DEPRESSED
a.) Check powerunit power source.
b.) Faulty actuator assembly. Replace.
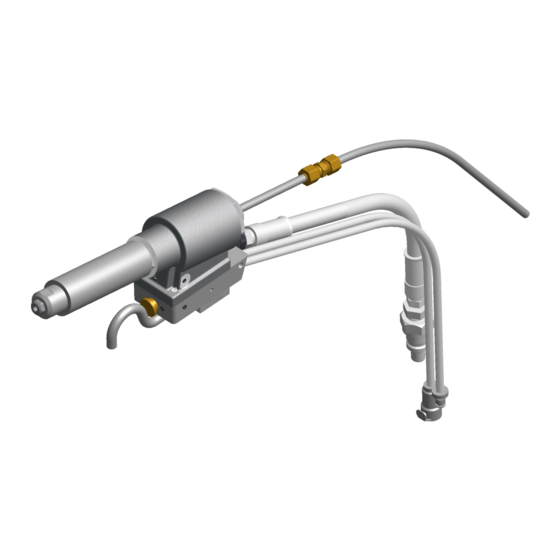
c.) Check hydraulic couplings; tighten, repair or replace.
2. SLOW OR PARTIAL OPERATION WHEN ACTUATOR LEVER ASSEMBLY DEPRESSED
a.) Low hydraulic pressure. Check fluid level.
b.)
Polyseal (405865) and o'ring (400788) could be worn or damaged. Replace.
c.) Excessive wear or scoring on moving parts. Check and replace faulty parts.
3. OIL LEAKAGE
a)
DO NOT
OPERATE WITH OIL LEAKING FROM TOOL. HIGH PRESSURE OIL MAY CAUSE SEVERE PERSONAL INJURY.
b.) Hydraulic oil leaks from connections. Tighten threaded connections.
c.) Oil leaks from tool. Determine source of leak and replace worn or defective o'rings and back-up rings.
4. PINTAIL GROOVES STRIPPED DURING PULL STROKE
a.) Nose Assembly must be pushed onto fastener fully.
b.) Chips may have collected in chuck jaws. Disassemble nose assembly, clean jaws in mineral spirits or use a
sharp pointed object to remove chips. Re-lube surfaces jaws ride on.
c.) Chuck jaws may be worn or damaged. Replace.
d.) Pintail too short for jaws to properly grip. Select proper grip length fastener.
e.) Excessive gap between sheets. Reduce gap before attempting to install fastener.
5. NOSE ASSEMBLY WON'T ACCEPT FASTENER PINTAIL
a.) Spent fastener stem may be jammed in pulling head. Disassemble and check for worn or broken parts in
nose assembly. Replace defective parts, clean and re-lube jaws before reassembling.
6. FASTENER STEM JAMMED IN NOSE ASSEMBLY
a) Nose assembly components require service.
and disassemble. Replace worn or broken parts. Clean the surface the jaws ride on.
b) Stems lodged side by side in the follower. Disassemble, remove stems, and reassemble.
c) Incorrect follower.
7. PINTAIL IS NOT BEING VACCUMED THROUGH.
a) Check vacuum pressure using vacuum gage 703567 (sold separately).
Note: Offset nose assemblies must be checked by removing the vacuum line from the nose assembly.
b) Press gage against the vacuum line or nose assembly to create seal.
Optimum vacuum pressure at nose assembly must be between 15-22 in.Hg
HOW TO CLEAN VACUUM REGUALTOR
1. Remove vacuum regulator 703515 from hose.
2. Remove (4) S.H.C.S. from front of regulator and disassemble.
3. Clean both pieces in clean mineral spirits and blow dry.
4. Reassemble and connect hoses.
Note: The vacuum regulator may visually appear clean, but still may be contaminated with a thin film,
therefore, the steps above should be performed to assure best performance.
DISCONNECT AIR FROM
8
TOOL, remove the nose from the tool
3/14