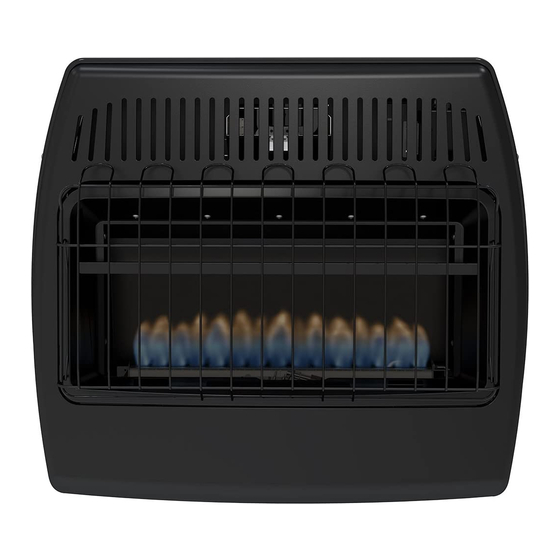
Dyna-Glo BF10DTDG-2 Panduan Memulai Cepat - Halaman 2
Jelajahi secara online atau unduh pdf Panduan Memulai Cepat untuk Pemanas Dyna-Glo BF10DTDG-2. Dyna-Glo BF10DTDG-2 10 halaman. Vent-free blue flame gas wall heater

INSTALLATION
Install sediment trap in supply line as shown
(See Fig. 20). Place sediment trap where it is
within reach for cleaning. Place sediment trap
where trapped matter is not likely to freeze. A
sediment trap traps moisture and contaminants.
This keeps them from going into heater controls.
If sediment trap is not installed or is installed
wrong, heater may not run properly.
CHECKING GAS CONNECTIONS
WARNING: Test all gas piping and connections for leaks after installing or servicing. Correct all
leaks immediately.
WARNING: Never use an open flame to check for a leak. Apply a 50/50 mixture of liquid soap and
water to all joints. If bubbles form, there may be a leak. Correct all leaks immediately.
Pressure Testing Gas Supply Piping System
Test Pressures In Excess Of 1/2 PSIG ( 3.5kPa )
The appliance and its appliance main gas valve must be disconnected from the gas supply piping
system during any pressure testing of that system at test pressures in excess of ½ psi (3.5 kPa).
Pressure Testing Gas Supply Equal To or less than
1/2 PSIG ( 3.5kPa )
The appliance must be isolated from the gas supply piping system by closing its equipment shut-off
valve during any pressure testing of the gas supply piping system at test pressures equal to or less
than ½ psi (3.5 kPa).
Leak Testing Heater Gas Internal Connections
1. Open equipment shutoff valve (See Fig. 21).
2. Make sure control knob of heater is in the OFF position.
3. Open gas supply tank valve (LP systems).
4. Check all joints from equipment shutoff valve to control
valve. Apply 50/50 mixture of liquid soap and water
to gas joints. If bubbles form, there may be a leak.
5. Light heater (see Operation, page 18). Check all other
internal joints for leaks.
6. Turn off heater (see "To Turn Off Gas to Appliance,"
page 19).
Fig. 20 - Gas Connection
Fig. 21 - Equipment Shut -off Valve
17
