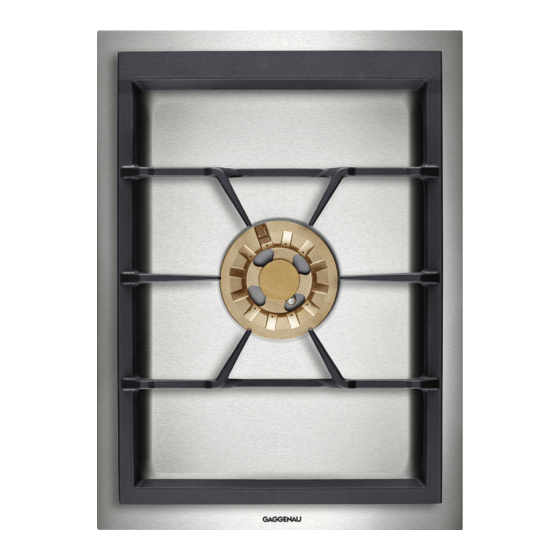
Gaggenau VG 414 210 AU Panduan Petunjuk Instalasi - Halaman 9
Jelajahi secara online atau unduh pdf Panduan Petunjuk Instalasi untuk Kompor Gaggenau VG 414 210 AU. Gaggenau VG 414 210 AU 12 halaman. Gas wok
Juga untuk Gaggenau VG 414 210 AU: Buku Petunjuk (16 halaman)

Electrical connection
Check that the appliance has the same voltage and frequency
as the electrical installation system.
The hob is delivered with a mains cable and 3 pin moulded
plug.
Only connect the appliance to sockets which have been fitted
and earthed according to regulations.
The appliance corresponds to type Y: the mains connection
cable must only be replaced by the after-sales service. Check
the cable type and minimum cross section.
Technical data
Total connected load (LPG):
18 MJ/hr (5 kW)
Total connected load (natural gas):
18 MJ/hr (5 kW)
Total connected load electric: 25VA
Conversion to another type of gas
This gas hob corresponds to the categories specified on the
rating plate. It is possible to convert the appliance to any of the
gases listed on the plate by changing the nozzles. The
modification kit can be ordered via our after-sales service.
Depending on the model the parts required may beincluded in
the scope of delivery.
The conversion must be carried out by an authorised person.
Before carrying out the conversion, turn off the electricity and
gas supply.
Changing the low burn nozzle (Fig. 8)
Remove pan supports and all burner parts.
1.
Unscrew fastening screws (three 7 mm nuts on each burner)
2.
and carefully detach stovetop. Loosen the screws of the
spindle cover. Remove the right half of the cover. Then slide
the remaining half to the right and remove the cover.
Loosen the retaining screw on the spindles and pull off the
3.
spindle drive from the gas tap. Unscrew and remove the cover
on the gas tap.
The low burn nozzles are located in the gas tap and are
4.
screwed in from the front. Turn the plastic part so that the
recess is above the nozzle. Screw out nozzle and take nozzle
out with small pliers.
Insert the new nozzles as specified in the nozzle table. The
5.
nozzles must be screwed in fully.
Firmly slide the spindle drive onto the gas tap. Fix the spindle
6.
in position with the retaining screw. Fit the spindle covers.
Changing the full burn nozzle: wok burner (fig. 9)
Remove securing clips on the burner pipes. Remove burner
1.
pipes. Loosen screw on air-regulating tube. Remove nozzle
fitting.
Remove nozzle and O-ring for inner circular burner by hand.
2.
Unscrew nozzle for outer circular burner (SW10).
Check that O-ring is correctly positioned in new full-burn nozzle
3.
for inner circular burner. Push nozzle onto burner pipe. Screw
new main nozzle for outer circular burner all the way into nozzle
fitting.
Put on nozzle fitting and burner pipes. Put on securing clips.
4.
Set air-regulating tube to correct dimension after loosening the
5.
screw (see nozzle table). Tighten screw again.
Put stovetop in place and screw it tight. Put burner parts and
6.
pan support in place, positioning them correctly.
Checking functions after the conversion:
The flames are adjusted correctly if no yellow tips are visible
and if they do not go out when switching over swiftly from the
high to the low setting.
Note: stick the adhesive label included with the nozzle set over
the rating plate of the appliance to document the changeover to
a different gas type.
