Hi-Tech Diamond SLANT CABBER Petunjuk Pengoperasian - Halaman 2
Jelajahi secara online atau unduh pdf Petunjuk Pengoperasian untuk Sander Hi-Tech Diamond SLANT CABBER. Hi-Tech Diamond SLANT CABBER 3 halaman.

OPERATING INSTRUCTIONS FOR SLANT CABBER
feed tube and on older models under the aluminum bar that has the water feed control knob on
it. Older model push the bottom edge of the shield in and press it down into the waste water
reservoir. On the newer model press the shield into the black clips on the inside of the machine
5. Unscrew the black flange knob and cupped washer from the base. Place the disc you will be
using on the arbor. If the disc is not glued to the backing plate, make sure that the disc is
centered on the backing plate and then screw the flange nut firmly. Hand tightening is sufficient.
Do not tighten with screwdrivers or pliers. Over tightening will lead to a wobble in the disc and
prevent an even surface on the stone from forming.
6. Turn the disc by hand in a counter clockwise direction, it should turn freely.
7. Fill the water supply reservoir with water.
8. Plug in the machine. Make sure the cord is not causing a tripping hazard.
Operating:
1. SAFETY GLASSES MUST BE WORN WHEN USING THIS EQUIPMENT.
2. This equipment has a variable speed for spinning the disc. Turn on the speed control knob to
start the disc spinning. Set the speed of the disc at a sufficient speed for grinding the stone, but
not so fast that the equipment starts vibrating. The disc does NOT need to be at full speed to
use. If there is a vibration check to make sure that the disc is centered on the backing plate.
Improper centering may cause the disc to spin out of round
resulting in machine vibration. Listen to the cabber while it is
running, is it turning smoothly? If not and an improperly centered
disc is not the problem, notify the Workshop Supervisor.
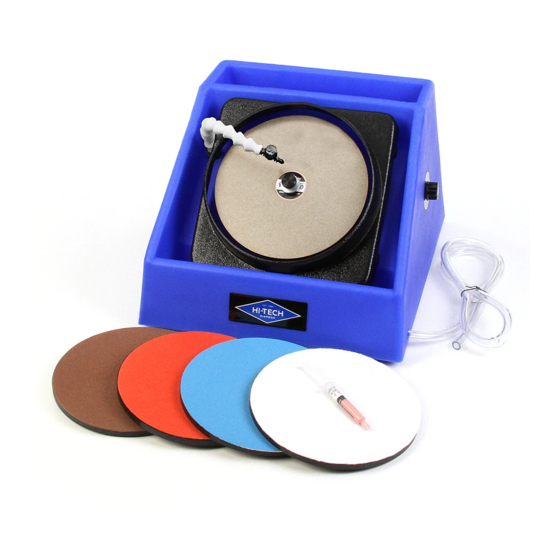
3. The black knob located above the water supply reservoir or on the
end of the water tube is used to control the flow of the water over
the discs. On the new model the water control knob is on the end
of the white water tube. Open the water feed control knob to start
the water flowing and adjust it to a steady slow flow. Center the
flexible tube so water drips close to the center of the disc and is
evenly spread over the surface of the disc while it spins. The disc
should be completely wet at all times.
4. NEVER USE WITHOUT THE WATER FLOWING. Using a dry disc
causes damage to the disc and/or your stone.
5. Keep the stone moving, using LIGHT PRESSURE ONLY with a rolling
movement.
6. Grind across the complete face of the disc by constantly moving
your stone; do not stay in one place on the disc as it causes a flat
spot on the stone and a worn/damaged spot on the disc.
7. When finished with one disc, turn off the motor leaving the water on. Using a brush, clean the
disc then turn off the water and turn on the motor to spin the disc completely dry. Then mount
your next disc on the equipment. Turn on the water and continue with your work.
8. Always monitor the water level in the water supply water reservoir. Add water whenever the
reservoir is almost empty.
9. Make sure to empty the discharge bucket when it gets 3/4 full. Dump it outside the door in the
landscape bed. Be careful when you carry the discharge bucket so you do not spill water.
10. DO NOT LEAVE the machine running if it is unattended. SHUT IT OFF!
Created 03/29/2016, Revised 11/01/2017
The Villages® Gem & Mineral Society
Page 2 of 3
Note the individual in this
picture does not have safety
glasses on. This was for
training purposes only. If a
chip would fly off his stone
you can see that it could
easily hit his eye.
(SAFETY
GLASSES MUST BE WORN.)
.
