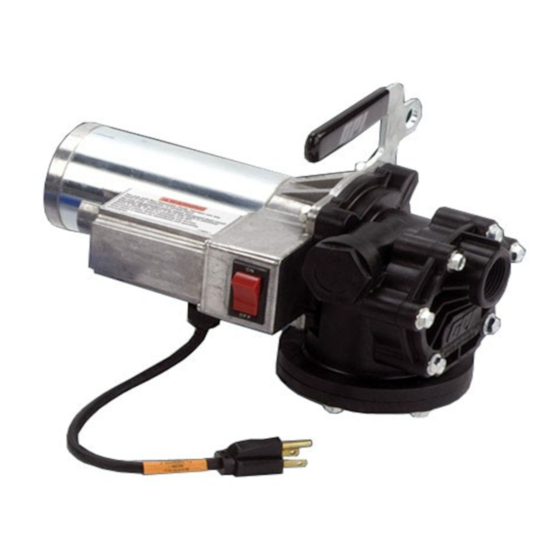
GREAT PLAINS PA-120DEF Panduan Pemilik - Halaman 8
Jelajahi secara online atau unduh pdf Panduan Pemilik untuk Pompa Air GREAT PLAINS PA-120DEF. GREAT PLAINS PA-120DEF 16 halaman. Plastic utility pump
Replace Gears or Drive Key
Follow these steps to remove the gears and drive key.
1. Disconnect pump from power and flush thoroughly.
2. Remove the coverplate and O-ring from the housing.
3. Remove the drive key and gears from the housing.
4. Inspect gears and key for wear or damage. Replace,
as necessary. Clean cavity.
TROUBLESHOOTING – PA-120DEF
SYMPTOM
A. MOTOR DOES NOT
RUN
B. MOTOR RUNS BUT
DOES NOT PUMP
FLUID
C. LOW FLOWRATE
D. RAPID OVERHEATING 1. Duty cycle too long
OF MOTOR
8
PROBABLE CAUSE
1. Circuit breaker tripped
2. Switch defective
3. Motor burned out
4. Thermal protector tripped
5. GFCI tripped
1. System air leak
2. Drive key broken
3. Strainer clogged
4. Gear coverplate O-ring worn Remove coverplate. Inspect O-ring and replace if worn or damaged.
5. Bypass poppet stuck open
6. Suction pipe clogged,
damaged or missing
7. Gear drive shaft broken
8. Gear wear
1. Low voltage
2. Strainer partially clogged
3. Suction pipe clogged or
damaged
4. Bypass poppet stuck open
5. Gear wear
6. Discharge hose too long
7. Extension cord too long
2. Strainer clogged
3. Thermal protector tripped
Follow the steps below to install gears and drive key.
1. Place a gear over the drive shaft.
2. Align the slotted drive shaft end with the gear.
3. Place the other gear in the housing. Turn the gears
to make sure they do not bind. Carefully place the
key in the slot.
4. Replace the O-ring and coverplate. Torque screws
to 25 to 35 in-lbs.
CORRECTIVE ACTION
Manually reset circuit breaker located in cover assembly. See Operation
Section.
Remove cover assembly and inspect switch. Replace, if necessary.
Remove motor and test by making grounded connection to GFCI protected
115-volt power. Replace, if necessary.
Turn switch off. Allow motor to cool. Protector resets automatically after
approximately 30 minutes. See Operations Section.
Manually reset GFCI. If motor does not run, disconnect power and check
for wet or damaged pump or power cord. Correct problem before resuming
operation. Operate pump only in dry locations.
Make sure all fittings and connections are tight. Inspect suction pipe, bung
adapter and pump inlet seals for leaks or damage.
Replace key.
Remove coverplate. Clean strainer. Install again.
Remove poppet and clean. Install again.
Remove pump. Inspect suction pipe and clean or replace, as necessary.
Remove coverplate, gears, and motor. Remove and inspect drive shaft.
Replace, if necessary.
Remove the coverplate and inspect gears, and drive key. Gears must turn
freely with the drive key removed. Replace any worn or damaged parts.
Check for adequate power supply voltage.
Remove coverplate. Clean strainer. Install again.
Remove pump from tank. Inspect suction pipe and clean or replace, as
necessary.
Remove poppet and clean. Install again.
Remove the coverplate and inspect gears, and drive key. Gears must turn
freely with the drive key removed. Replace any worn or damaged parts.
Long hoses reduce flowrate. Shorten hose.
Long cords reduce voltage at pump. Reduce cord length or use larger gauge
cord.
Do not exceed the standard duty cycle of 30 minutes ON and 30 minutes
OFF. Allow the pump to cool for 30 minutes.
Remove coverplate. Clean strainer. Install again.
Turn switch off. Allow motor to cool. Protector resets automatically after
approximately 30 minutes. See Operation Section.