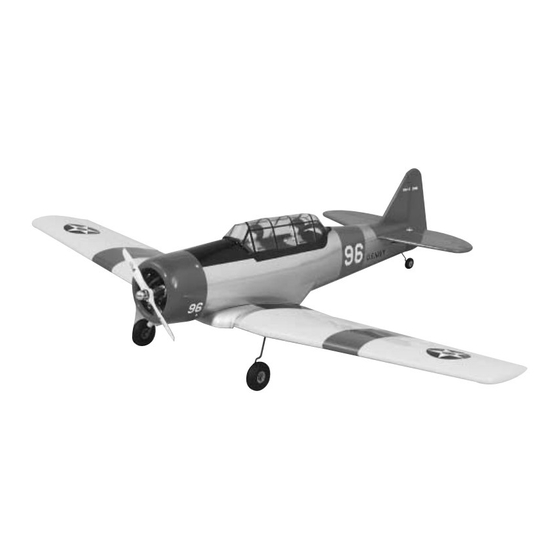
GREAT PLANES AT-6 Texan Buku Petunjuk - Halaman 12
Jelajahi secara online atau unduh pdf Buku Petunjuk untuk Mainan GREAT PLANES AT-6 Texan. GREAT PLANES AT-6 Texan 20 halaman. Legendary warbirds custom-wood series

THROTTLE PUSHROD INSTALLATION
1. Install a Brass Screw-lock Pushrod Connector with
the 4-40 x 1/8" Cap Screw on the throttle servo horn. Snap
the Nylon Retainer onto the screw-lock pushrod connector
post beneath the servo horn.
2. Assemble the 17-1/2" (444mm) Throttle Pushrod Wire
by installing a nylon clevis about 14 turns and a silicone
retainer onto the threaded end. Trim the outer tube and then
slide the throttle pushrod into its outer tube (from the firewall).
3. Bend the throttle pushrod as necessary to reach the
throttle arm without binding. When satisfied with the fit, insert
the pushrod through the screw-lock pushrod connector on
the servo. Connect the clevis to the throttle on the engine,
snap the clevis closed, then slide the retainer in place.
4. With the radio switched on, move the throttle trim and
control stick to the fully closed position, by pulling them
back (or downward) all the way. Manually close the throttle
on the carburetor completely. Tighten the cap screw on the
screw-lock pushrod connector. Check throttle operation with
the radio and make adjustments to the linkages as
necessary for smooth operation. Use the appropriate holes
in the servo and throttle arms to provide the correct amount
of throttle movement and to prevent the servo from binding
at its end points.
FINAL ASSEMBLY
The following steps cover fitting the cowl to an O.S. engine
using a Slimline muffler.
1. Prepare the Fuselage for the 13/16" x 7/16" x 1-3/16"
(20.5mm x 11mm x 30mm) hardwood Cowl Mounting
Blocks by sanding the areas shown using 120-grit
sandpaper. These areas need to be flat and the bare wood
exposed so the blocks can be glued securely. It is
recommended to remove the engine during the sanding
process to prevent any dust from from entering the engine.
2. Use 6-minute epoxy to glue the cowl mounting blocks
to the fuselage. Now is a good time to use 6-minute epoxy
to make sure all of the exposed wood is fuel proofed. The
outside edge of the top and bottom blocks must be 1/8"
(3mm) above and below the outside edges of the fuselage.
The side blocks extend 1/4" (6mm) beyond the outside
edge of the fuselage. After the epoxy has cured, use a
sanding block to sand a slight radius on each block. This is
done to match the curvature of the cowl, and to prevent the
cowl from cracking.
3. Use a piece of card stock to locate the edges of the
cowl mounting blocks. Use additional pieces to locate the
glow plug and needle valve.
4. Slide the cowling into position, without disturbing the
card stock. Temporarily attach the propeller to the engine.
Position the cowling to have 3/16" (4.7mm) clearance
between the propeller and the front of the cowling.
12
