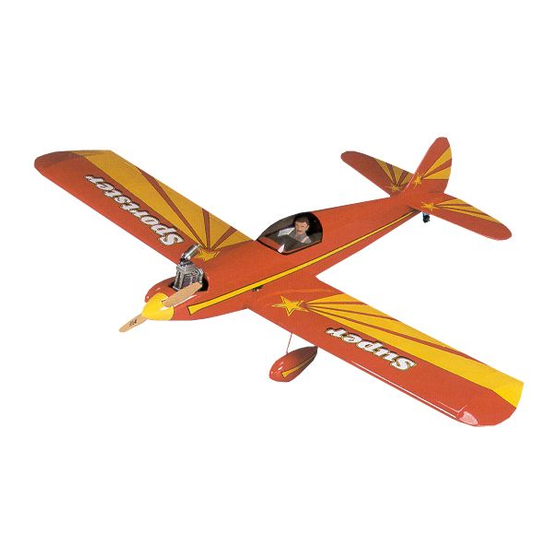
GREAT PLANES Super Sportster 40 Buku Petunjuk - Halaman 6
Jelajahi secara online atau unduh pdf Buku Petunjuk untuk Mainan GREAT PLANES Super Sportster 40. GREAT PLANES Super Sportster 40 20 halaman.

BEGIN CONSTRUCTION
Wing Assembly
❏
1. Draw a centerline on both sides of the wing joiner
as shown.
❏ ❏
2. Test fit the wing joiner in both wing panels by sliding
the joiner into the joiner cavity in the wing. The joiner must
slide in with little resistance up to the centerline drawn on
the joiner. Lightly sand the joiner edges, sides or ends if the
joiner will not fit in the cavity. Caution: A snug fit of the
joiner in the joiner cavity is desired. Do not sand the
joiner excessively.
❏
3. Test fit the wing panels together with the joiner in
position. They must fit flush against each other without any
gaps. If the panels will not fit together tightly, lightly sand the
joiner edges, sides or ends. Caution: The wing panels
should fit together without any gaps.
Note: When performing the following steps, be sure to use
a sufficient amount of epoxy to form a complete and solid
bond between the wing joiner and the wing halves. This is
the most important glue joint in the entire airplane.
Please read the following three steps before mixing any
epoxy. You must complete these steps within 20
minutes from the time you mix the epoxy.
❏
4. Mix 1/2 oz. [14ml] of 30-minute epoxy. Use a mixing
stick or epoxy brush to apply epoxy to all four sides of the
joiner cavity. Coat all surfaces of one half of the wing joiner
with 30-minute epoxy and place it in its corresponding joiner
cavity. Insert the joiner into the cavity up to the centerline
marked on the wing joiner. Be sure you are installing the
joiner to obtain the correct direction for the dihedral. Quickly
proceed to the next step.
❏
5. Apply epoxy inside the joiner cavity of the remaining
wing panel. Next, coat the wing root ribs on both panels.
Coat the other half of the joiner with 30-minute epoxy and
join the other wing. Quickly proceed to the next step.
6
