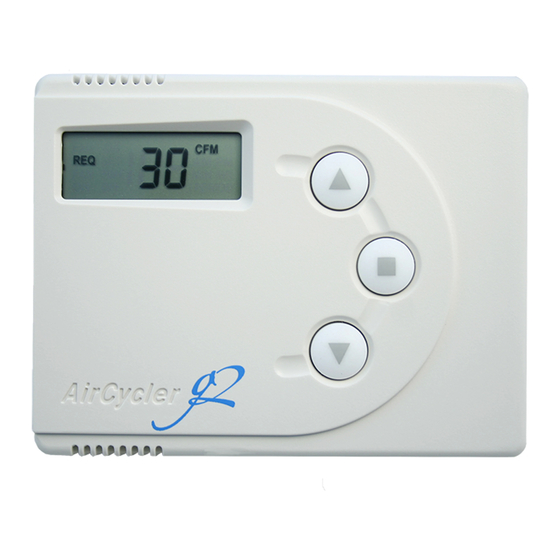
AirCycler g2 Instalasi & Panduan Pengguna - Halaman 2
Jelajahi secara online atau unduh pdf Instalasi & Panduan Pengguna untuk Kipas angin AirCycler g2. AirCycler g2 11 halaman.

INTRODUCTION
If the AirCycler® g2 was installed in your home as a ventilation controller, DO NOT DISABLE IT.
In the past, homes depended on natural leaks for ventilation. Today, energy efficient homes are built to reduce natural
ventilation and leaks. Inadequate ventilation can increase indoor air pollutants to harmful levels. Indoor air quality is
typically 5 to 10 times more polluted than outside air. Controlled ventilation provides adequate air flow to the home
without compromising its efficiency.
SAFETY CONSIDERATIONS
Read and follow manufacturer's instructions carefully. Follow all local electrical codes during installation. All wiring
must conform to local and national electrical codes. Improper wiring or installation may result in personal injury or
product and property damage.
INSTALLATION CONSIDERATIONS
The AirCycler® g2 requires 24VAC (R and C terminals) to be connected for proper operation. The controller will not
operate without these two connections.
The wires (R, C, & W ) from the air handler to the thermostat can run parallel with the wiring from the AirCycler®
g2 to the air handler. The fan wire (G) must be interrupted by the AirCycler® g2. Some thermostats do not require a
common (C) connection. The AirCycler® g2 requires this for power, which must be wired to the furnace.
Wiring Diagram
2
KEY
Vnc - Normal Closed Vent
R - 24VAC Power
W - Heating
Gt - Fan From Thermostat
Gf - Fan to Furnace
C - Common
V - Vent
Ex - Exhaust Fan
AC DOC 8.5
REV 11/21/2014
