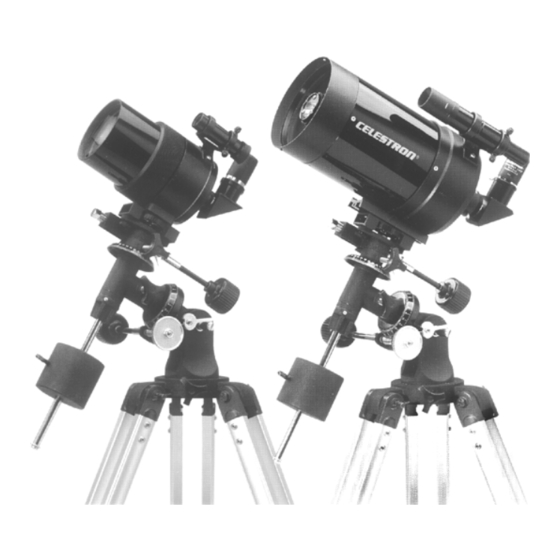
Celestron CG-3 Buku Petunjuk - Halaman 8
Jelajahi secara online atau unduh pdf Buku Petunjuk untuk Teleskop Celestron CG-3. Celestron CG-3 20 halaman. Telescope and equatorial mount

3.
Tighten the thumbscrew on the visual back (rear cell) to hold the star diagonal in place.
If you wish to change the orientation of the star diagonal, loosen the thumbscrew on the visual back until the
diagonal rotates freely. Rotate the diagonal to the desired position and tighten the thumbscrew.
The Eyepiece
The eyepiece, or ocular, is the optical element that magnifies the image focused by the telescope. The
eyepiece fits either into the visual back directly or into the star diagonal. To install an eyepiece:
1.
Loosen the thumbscrew on the star diagonal so that it does not obstruct the inner diameter of the
eyepiece end of the diagonal.
2.
Slide the chrome portion of the eyepiece into the star diagonal.
3.
Tighten the thumbscrew on the diagonal to hold the eyepiece in place.
To remove the eyepiece, loosen the thumbscrew on the star diagonal and slide the eyepiece out.
In addition to barrel diameter, eyepieces are also referred to in terms of their focal length. The focal length
of each eyepiece is printed on the eyepiece barrel. The longer the focal length (i.e., the larger the number),
the lower the eyepiece power and the shorter the focal length (i.e., the smaller the number), the higher the
magnification. Generally, you will use low-to-moderate power when viewing. For more information on
how to determine power, see the section on "Calculating Magnification."
Balancing the Telescope
To eliminate undue stress on the mount, the telescope should be
properly balanced around the polar axis. In addition, proper
balancing is crucial for accurate tracking if using a motor drive.
To balance the mount:
1.
Release the R.A. Locking Knob and position the telescope
off to one side of the mount (see figure 6).
2.
GRADUALLY release the telescope to see which way it
"rolls."
3.
Loosen the counterweight lock screw and slide the
counterweight to a point where it balances the scope (i.e.,
the telescope remains stationary when the R.A. locking
knob is released).
4.
Tighten the counterweight lock screw.
The telescope is now properly balanced.
Using the R.A. Motor Drive
For models that come standard with an R.A. tracking motor (#11091 & #11051), the motor can be attached
to the side of the equatorial mount that has the large chrome spur gear. Once polar aligned (see section on
Polar Alignment that follows), the motor drive will allow the telescope to track the object being observed
with minimal adjustments to the slow motion controls. For complete installation and operation instructions
for the drive motor, refer to the instructions provided with the R.A. motor drive.
R.A. Locking Knob
8
Counterweight
Figure 6
