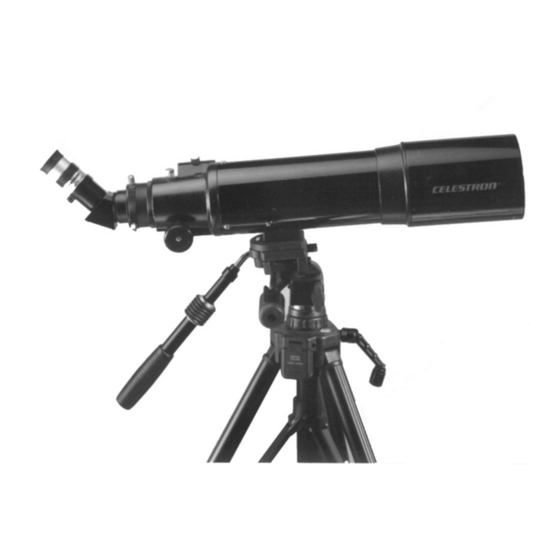
Celestron StarSeeker 80mm Buku Petunjuk - Halaman 12
Jelajahi secara online atau unduh pdf Buku Petunjuk untuk Teleskop Celestron StarSeeker 80mm. Celestron StarSeeker 80mm 17 halaman. F80 eq wa 80mm (3.1”) refractor telescope
Juga untuk Celestron StarSeeker 80mm: Buku Petunjuk (15 halaman)

Observing Deep Sky Objects
Deep sky objects are simply those objects outside the boundaries of our solar system. They
include star clusters, planetary nebulae, diffuse nebulae, double stars, and other galaxies outside
our own Milky Way. Because your spotting scope is not set up for serious astronomical
observing, you will need to know where to look in the sky for these objects. The Celestron Sky
Maps (#93722) will help you locate the brightest deep sky objects.
Once you start observing deep sky objects, there are a few things to remember. First, most deep
sky objects have a large angular size. Therefore, low to moderate power is all you need to see
them. Second, visually they are too faint to reveal any color that is common to photographs.
Instead, they have a black and white appearance. And lastly, because of their low surface
brightness, they should be observed from a dark sky location. Light pollution around large urban
areas washes out most nebulae making them difficult, if not impossible, to see. An LPR (Light
Pollution Reduction) Filter (#94126A) is available for use with 1 1 /4" eyepieces to allow urban
use of the 102mm Wide View for looking at nebulae.
Photographing the Moon
After looking at the night sky for awhile you may want to try photographing it. If you do, start
with a nice, bright object like the Moon. To photograph the Moon:
1. Attach your spotting scope to a stable platform like the Celestron Photographic Tripod
(#93596).
2. Load your camera with film that has a moderate-to-fast speed (i.e., high ISO rating). Faster
films are more desirable when the Moon
brightest, slower films are more desirable. If photographing during the full phase, use a
yellow filter to reduce the light intensity and to increase contrast.
3. Center the Moon in the field of your spotting scope.
4. Set the shutter speed to the appropriate setting (see below).
Trip the shutter using a cable release so as not to shake the camera and spotting scope
5.
Lunar Phase
ISO 50 ISO
Crescent
1/8
Quarter
1/30
Full
1/125
The exposure times listed here should be used as a starting point. Always make exposures that are
longer and shorter than the recommended time. Also, try bracketing your exposures, taking a few
photos at each shutter speed. This will ensure that you will get a good photo. Keep accurate
records of your exposures. This information will be useful if you want to repeat your results or if
you want to submit some of your photos to various magazines for possible publication!
is a crescent. When the Moon is full, and at its
ISO
ISO 400
100
200
1/15
1/60
1/125
1/125
1/250
1/500
1/500
1/1000
1/2000
12
.
