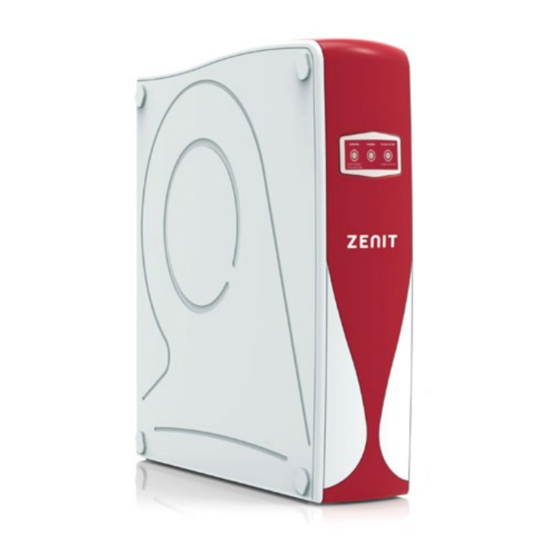
Hidro-Water ZENIT Panduan Pengguna & Pemasang - Halaman 5
Jelajahi secara online atau unduh pdf Panduan Pengguna & Pemasang untuk Sistem Penyaringan Air Hidro-Water ZENIT. Hidro-Water ZENIT 15 halaman. Residential reverse osmosis

c. Open the membrane housing caps, turning them anti-clockwise with the help of
the wrench supplied with the system (Figure-16).
d. Take out the membranes from their packaging. Insert one membrane in each
membrane housing in the correct way as indicated in the following picture.
e. Once the membranes have been fitted, close the membrane housing clockwise
with the help of the wrench supplied with the system (Figure-16). Insert again the
tube fully. Once it is inserted, replace the security clip.
f.
Place the membrane housing in the corresponding clamps as seen in the following
picture.
8
MA-ES-RO-ZENIT_RO-0236-02_FL_20_V02
4.5.- Osmosis system installation
The hydraulic connections should follow the contour of the surface chosen for
installation so that the tubes do not get mixed up or tangled. Leave a sufficient length of
tube to ease moving the system during future maintenance. Here are the steps to follow
to make the hydraulic connection:
a. Place the osmosis system in the chosen location.
b. Remove the plugs from the various inlets and outlets on the back of the osmosis
system. To do so, you must remove the safety clips and proceed as follows in picture.
c. Connect ⅜" tube (Figure-5) to the brass ball valve
(Figure-9) connected water supply inlet.
d. The other end of the ⅜" tube should be connected
to the inlet of the WATER STOP Antileak system
(Figure-13), where it is marked "IN", inserting it
fully. Once it is inserted, replace the ⅜" security
clip.
e. The WATER STOP Antileak system (Figure-13)
must be fixed to the base of the unit where you're
installing the osmosis system, fixing it with the
adhesives sup-plied.
f.
Once you have fixed the WATER STOP Antileak
system in the chosen place, you must connect
the ⅜" tube to the outlet of the Antileak system
(Figure-13), marked "OUT", inserting it fully. Once
it is inserted, replace the ⅜" security clip.
MA-ES-RO-ZENIT_RO-0236-02_FL_20_V02
9
