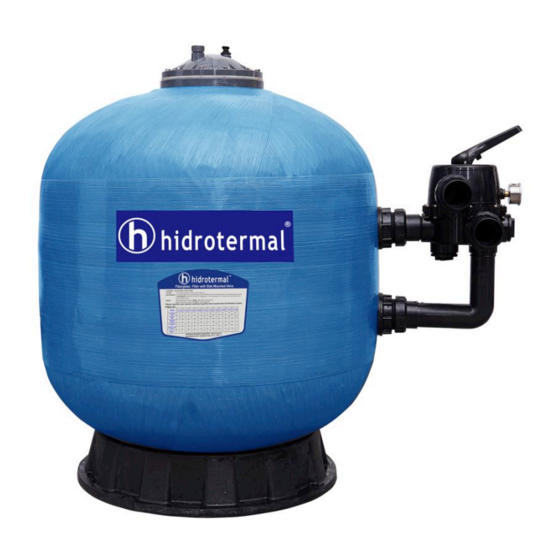
Hidrotermal HT-VS1000 Panduan Pengguna - Halaman 3
Jelajahi secara online atau unduh pdf Panduan Pengguna untuk Filter Kolam Renang Hidrotermal HT-VS1000. Hidrotermal HT-VS1000 7 halaman. Fiberglass filter

Installation
Required Tools: Screwdriver, Wrenches, pipe sealant and plastic adapters.
1. The filter should be placed on a reasonably level surface and provided adequate drainage. Position the filter
so that the piping connections, control valve are convenient and accessible for operations and service, The
filter should be placed as close to the pool as possible in order to reduce the line loss from pipe friction.
2. Loading the sand media. The filter sand media is loaded through the filters top opening.
a) Loosen the flange clamp and removethe filter control valve (if previously installed).
b) Cap the internal pipe with a plastic cap to prevent sand from entering it.
c) We recommend filling the tank approximately to half of it's water cappacity, in order to provide a cushion
effect when the filter sand is poured in. This helps to protect the under-drain laterals from an excessive shock.
d) Carefully pour in the correct amount and grade of filter sand. (Be sure the center pipe remains centered in
the opening.) The sand surface should be leveled and up to about the middle of the filter tank. Remove the
plastic cap from the internal pipe.
3. Assemble the filter control valve to the filter tank.
a) Insert the filter control valve (with the O-ring in place) into the tank neck, beware that the center pipe slips
into the hole at the bottom of the valve.
b) Place two plastic clamps around the valve flange and tank flange and tighten just enough so that the valve
may be rotated on the tank for final positioning.
c) Carefully screw the pressure gauge (with the O-ring in place) intothe tapped hole on the valve body. Do not
over-tighten.
d) Connect the pump to control the valve opening marked PUMP. After connections are made, tighten the
valve flange clamps with a screwdriver, tap around the clamp with a screwdriver handle to help seat the valve
flange clamp.
4. Set a return to the pool pipe connection to control the valve opening marked RETURN and complete other
necessary plumbing connections, suction as lines to the pump, waste, etc.
5. Perform the electrical connections to the pump following the pump manual.
6. Make sure all the pipe connections are tight and there are no leakages.
Filter's Start -Up
1. Make sure the correct amount of filter sand is in the tank and that all connections have been correctly made
and secured.
2. Push the down control valve handle and rotate to the BACKWASH position. (To prevent any damage to the
control valve seal, always push down the handle before turning.)
3. Startthe pump according to the pump manual (Make sure all thesuction and return lines are opened),
allowing the filter tank to fill in with water. Once the water is flowing out it removes any fine sand particles and
impurities from the sand media.
4. Stop the pump and set valve to the RINSE position. Start the pump and operate for 1 minute until water is
clear. Stop the pump and set the valve to the FILTER position and then restart the pump. The filter is now
operating at the normal filtering mode, removing dirt particles from the pool water.
5. Adjust the pool suction and the return valves to achieve desired flow. Check the system and the filter for
water leaks and tighten the connections, bolts, nuts, as required.
6. Acknowledge the initial pressure gauge reading when the filter is clean. (It will vary from each pool
depending on the pump and general piping system.) As the filter removes dirt and impurities from the pool
water, the accumulation in the filter will cause the pressure to rise and the flow to diminish. When the pressure
gauge reading is 1.5 BAR higher than the initial "clean" pressure you noticed, then it is time to backwash the
filter (See BACKWASH under filter and control valve functions).
Note: During the initial clean-up of the pool water it may be necessary to
backwash frequently due to the heavy initial dirt load in the pool.
