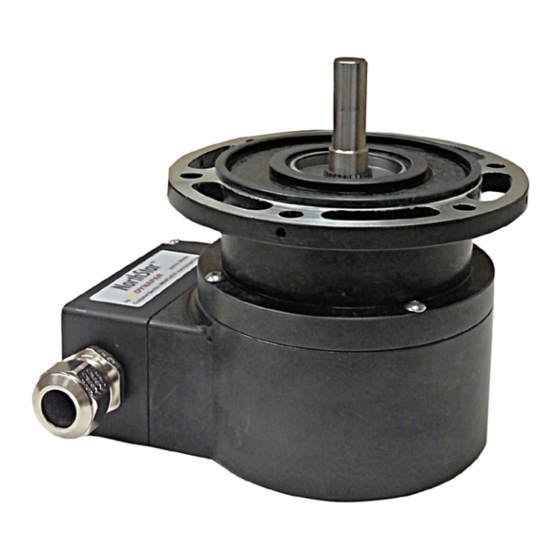
DYNAPAR NorthStar HD35R Series Panduan Instalasi - Halaman 4
Jelajahi secara online atau unduh pdf Panduan Instalasi untuk Konverter Media DYNAPAR NorthStar HD35R Series. DYNAPAR NorthStar HD35R Series 6 halaman. Heavy duty encoder

Page 4
MECHANICAL INSTALLATION
1. Install Coupling
If you are using Dynapar brand flex couplings,
please adhere to the max tightening specificatation
shown.
2. Install Flange
Install encoder onto mounting flange or flange
adapter using four to six of the screw holes
provided on the encoder flange. Through a port in
the adapter, tighten the application end of the
coupling as shown.
Application Assistance 1.800.234.8731 (847.662.6633)
3. Inspect Assembly
Take care that all mounting dimensions and specifi-
cations meet the constraints shown below.
4. Connector cover installation.
a. Strip main cable jacket 2" from wire end.
b. Strip each wire used 0.1" from the wire end.
c. Feed the encoder cable through the strain relief.
d. Install each wire into the screw terminals of the
mating socket matching pin, color, and function,
respectfully.
e. Insert mating socket for the five pin and four pin
connectors onto the encoder pins.
f. Tighten screws on the sides of each connector to
secure the mating socket to the encoder pins.
g. Install main connector cover onto the encoder,
and tighten the two screws on opposite corners of
the cover.
h. Tighten the cable strain relief.
i. Verify that the strain relief is firmly clamped
around the complete 360˚ of the cable outer jacket.
