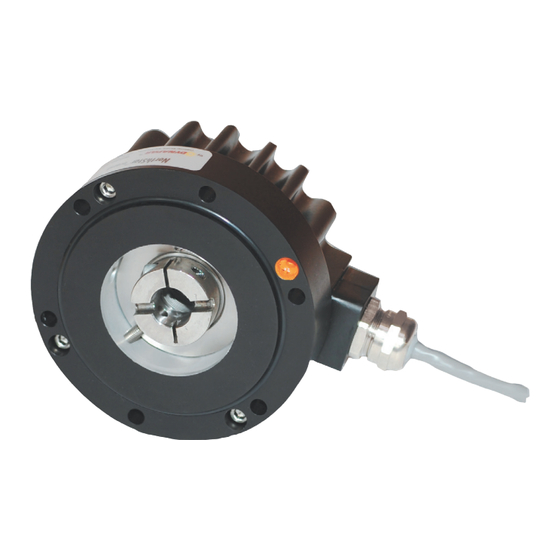
DYNAPAR NorthStar HSD44T1024A3K Panduan Instalasi - Halaman 4
Jelajahi secara online atau unduh pdf Panduan Instalasi untuk Konverter Media DYNAPAR NorthStar HSD44T1024A3K. DYNAPAR NorthStar HSD44T1024A3K 6 halaman. Extreme heavy duty encoder

MECHANICAL INSTALLATION
A. GENERAL OVERVIEW
The NorthStar Series HSD44 is a harsh-duty speed
and position transducer that when mounted to a ro-
tating shaft, produces output pulses that are directly
proportional to the shaft speed and direction. The
encoder is attached to the motor shaft via a stain-
less steel flexible coupling that compensates for
motor shaft end-play and run-out. The clamp is also
electrically isolated from the encoder to ensure mo-
tor shaft currents do not ground through the encoder
bearings. Due to this specialized coupling, special
precautions must be taken during installation as
outlined in this manual.
B. SHAFT EXTENSION
Solid shaft preferred, keyway allowed (key must be
removed); flatted shaft must not be used. The shaft
extension length range is .47" to .625". Installations
that use a press-fit or screwed-on stub shaft adapter
should align the stub shaft to 0.002" TIR or less us-
ing a dial indicator.
C. REQUIRED TOOLS & MATERIALS
Tool
Caliper & Dial Indicator Gages
1/4" Hex Key Wrench
9/64" Ball End Hex Key Wrench
5/32" Ball End Hex Key Wrench
3/16" Hex Key Wrench
10mm Hex Key Wrench
Open End Adjustable Wrench
7/64" Hex Key Wrench
1/8" Flat Blade Screwdriver
Torque Wrench, 20–75 inch pound range
HSD44 COUPLING/CLAMP INSTALLATION
1
SHAFT
CLAMP SCREW
SHAFT CLAMP
2
ACCESS PLUG
3
Page 4
Purpose
Shaft Checks
Shaft Clamp Access Plug
Shaft Collar Clamp
Shaft Clamp Alignment Screw
Encoder Mounting Screws
Stopping Plug
Cable Gland
Terminal Box Cover
Terminal Block Wiring
Tightening Fasteners
FLEX COUPLING
LOCATING SCREW
CAUTION: Upon initial inspection of the shaft
coupling area of the HSD44 you will notice a 10-
32 screw that extends through the encoder body
and into the shaft coupling.
DO NOT remove this Coupling Locating Screw
until directed to do so in Step 9 of the Installa-
tion Procedure.
Please familiarize yourself with the following as
seen in the magnified view drawing below:
1. Shaft Clamp Screw
2. Shaft Clamp Access Plug
3. Flex Coupling Locating Screw
4. Coupling Locating Hole
Note: The encoder can be mounted on shafts of vary-
ing lengths (MIN 0.47 in, MAX 0.83 in).
ESD44 MOTOR MOUNT REQUIREMENTS
Note: Please refer to this figure when
performing Installation Steps 7 – 11.
COUPLING
4
LOCATING HOLE
