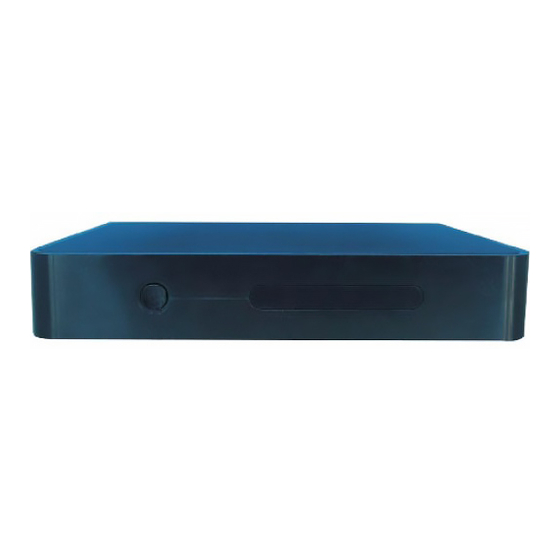
Galaxy Innovations Gi FLY T2 Manual - Halaman 7
Jelajahi secara online atau unduh pdf Manual untuk Penerima TV Galaxy Innovations Gi FLY T2. Galaxy Innovations Gi FLY T2 20 halaman.

P 4-1-18
You can view the task list and press【 / 、
/ 】to select and audit.
P 4-1-19
4.1.6.TV Setup
Press【 / 、 / 】and【OK】to enter in
"DTV Settings". As shown in the following
picture.
P 4-1-20
Detailed setting methods will be explained
as follows.
Region:
Press【 / 】and【OK】to select the region.
Press【EXIT】to quit .
12
P 4-1-21
Programs sort:
Press【 / 】to sort program. Press
【OK】to confirm. Press【EXIT】to quit.
P 4-1-22
Parent Lock:
1) Press【 / 】and【OK】to enter the
setting, input code, then set a new password
and parent lock grade
2)Press【 / 】and【OK】 buttons to set
a new password or parent lock grade. Press
【EXIT】to quit without saving.
P 4-1-23
Record setup:
To record with some simple setting, such as:
1)Setting the storage place of recording file:
P 4-1-24
2) Partitions by EPG events:
Setup if the recording files partitions by EPG
time.
Reserve setup:
Setup the remind time and default record
time.
3) Reminding to record:
Setup how long remind user for reserving
record in advance.
4) Default the reserve recording time.
Setup the default condition for how long last
to reserve recording.
Restore Factory Default:
This is only to make Restore Factory Default
setting for Digital TV part, android part will
not change, after you type in password, then
you can make new setting for your digital TV
functions. As P 4-1-25
P 4-1-25
4.2.Application
Press【 / 、 / 】and【OK】to enter in
application interface as shown in P 4-2-1
P 4-2-1
Clarification Introduction:You can
see all the applications here by different
clarifications.
Add:Press red button or
to
add a new clarification as P 4-2-2
P 4-2-2
Delete: Move the censor to the defined
clarification and press【MENU】or hold【OK】
to delete the selection as P 4-2-3:
P 4-2-3
New Name: Move the censor to a
clarification, and press【MENU】or hold【OK】
to show the type-in box, and input a new
name then press OK to confirm as P 4-2-4
13
