Copernicus Tech Tub TEC600C-8 Panduan Perakitan - Halaman 11
Jelajahi secara online atau unduh pdf Panduan Perakitan untuk Gerobak Luar Ruangan Copernicus Tech Tub TEC600C-8. Copernicus Tech Tub TEC600C-8 13 halaman. For 6 tablets
Juga untuk Copernicus Tech Tub TEC600C-8: Panduan Perakitan (12 halaman)
OPTIONAL:
Follow Steps 8 to 10 to install the Tech Tub Locking Block
and Locking Pin System (TEC600C-8 ONLY)
You will need:
8
Use Template and Drill Holes into Surface
Use positioning template
found at back of these
Assembly Instructions
Maximum thickness of
surface is 2-1/2" (63mm)
Use tape to secure
the positioning template
Actual Size:
9
You will need:
Mount Locking Block
G
E
E
11
(Not to Scale)
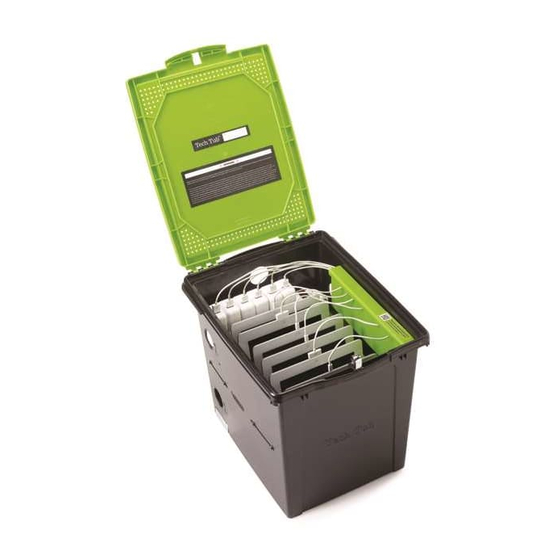
This system allows you to lock your Tech Tub to a
table or countertop. This is a really good idea if you
leave your devices out in the open or your room
doesn't lock. You can then lock the Tech Tub in place
and lock the Tech Tub itself.
Table or Countertop
M6 Washer
E
F
x6
(Not to Scale)
Allen Key 4mm
x1
Drilled holes from Step 6
TEC600C-8, TEC601C-8 - Version A - Released February 9, 2021 - Copernicus Educational Products Inc.
®
M6 x 70mm
M6 Lock Nut
G
x2
x2
Locking Block
x1
Label facing
upwards
E
F
Underside
®
Positioning Template (found at
back of this guide)
x1
Use 1/4" or 6mm drill bit
Washer goes
E
INSIDE tube
Table
or
F
G
Washer goes
E
UNDER tube
Countertop
E
Section
View