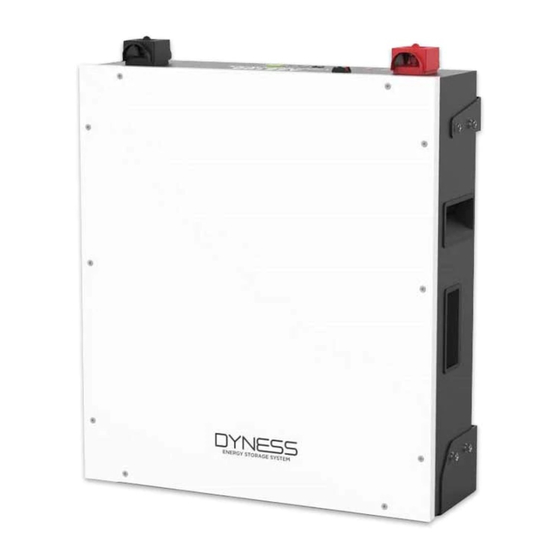
Dyness A48100 Panduan Memulai Cepat
Jelajahi secara online atau unduh pdf Panduan Memulai Cepat untuk Paket Baterai Dyness A48100. Dyness A48100 8 halaman. Battery and solis setup

SOLIS
Dyness A48100 battery and
Setup
Check List:
All of DYNESS battery has same DIP settings and cable
connections,here are examples of A48100 and Powerbox Pro;
Power cables;
Parallel cables;
Communication cable between battery and inverter;
Communication cables between battery and battery;
RHI-6K-48ES-5G
Before starting, make sure battery and inverter size matched.
Follow Dyness user manual to check details, it is recommended to
use battery in 1: 2 configuration at least.
Step 1 : Cable connect in inverter
Keep both inverter and battery completely off.
Connect power cable and comm cable to inverter firstly.
1.1 AC terminal wiring of inverter: connect the power grid and load
to ac-grid and ac-backup terminals of inverter respectively.
1.2 PV input wiring of inverter: insert the positive and negative
poles of PV into the positive and negative poles of DC port of
inverter respectively
