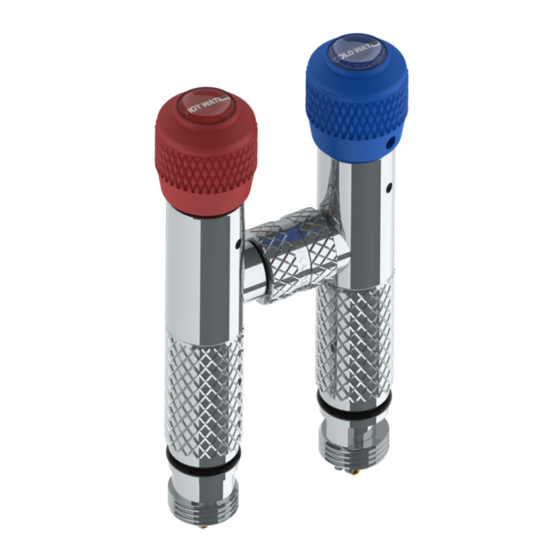
Galvin Engineering CliniMix WM-PMSKIT Panduan Instalasi Produk - Halaman 2
Jelajahi secara online atau unduh pdf Panduan Instalasi Produk untuk Produk Pipa Galvin Engineering CliniMix WM-PMSKIT. Galvin Engineering CliniMix WM-PMSKIT 6 halaman. Inwall shower disinfection kit

PRE-INSTALLATION
IMPORTANT:
INSTALLATION COMPLIANCE: Galvin Engineering products must be installed in accordance with these
installation instructions and in accordance with AS/NZS 3500, the PCA and your local regulatory requirements.
Water and/or electrical supply conditions must also comply to the applicable national and/or state standards.
Failing to comply with these provisions shall void the product warranty and may affect the performance of the
product (Refer to supplied installation compliance sheet with the product).
SAFETY NOTE: Care should be taken when carrying out the disinfection procedure to avoid contact with hot water
and hot surfaces. We recommend the use of protective hand wear.
INSTALLATION
IMPORTANT: Galvin Specialised products must be installed in accordance with these installation instructions
and in accordance with AS/NZS 3500, the PCA and your local regulatory requirements. Water and/or electrical
supply conditions must also comply to the applicable national and/or state standards. Failing to comply with these
provisions shall void the product warranty and may affect the performance of the product.
1. Fit Flange/Outlet End
Remove the M4 screws from shower rose.
Place the shower rose in the flange locating over
the thumb screws (supplied).
Ensure o-ring on flange is fitted.
Secure flange to shower body using thumb
screws ensuring they are hand tight to form an
adequate seal.
The supplied drainage hose is to suit Galvin
Engineering Vandal Resistant Shower (40691).
The use of a drainage hose is important to
minimise the risk of scalding during the
disinfection process. Please contact Galvin
Engineering for more information.
Version 1, 22 October 2019, Page 2 of 6
2. Direct Outlet to Drain
Place hose end on the floor in the direction of the drain
to ensure hot water exits in a controlled manner.
Failure to do so may result in the user being
scalded by hot water.
