Gama Sonic 98B001 Panduan Memulai Cepat - Halaman 3
Jelajahi secara online atau unduh pdf Panduan Memulai Cepat untuk Lampu luar ruangan Gama Sonic 98B001. Gama Sonic 98B001 4 halaman. Royal bulb solar lamp
Assembly Instructions
98B001/98B101/98B301
1. Using the provided template, mark and drill three holes
into concrete no larger than the provided anchors.
NOTE: For installation in the ground where pouring
concrete is not preferred or possible, use our EZ Lamp
Post Anchor, model 30001 (sold separately) to quickly
and easily secure the lamp anywhere in your yard.
This is only to be used with models 98B001, 98B101, or
98B301.
2. Place the anchors into the holes with the threaded
ends facing up.
3. Place the Base Pole (G) over the anchors and secure
using a wrench. Cover the nuts with the provided
plastic covers.
4. Place the middle pole (F) on top of the base pole (G)
and secure with the provided screws.
5. Attach the top pole (E) to the middle pole (F) by
twisting clockwise.
6. Attach the fitter adapter (D) to the top pole (E) by
twisting clockwise.
NOTE: the fitter adapter (D) may be installed in the
fixture (C) in the box.
7. Attach the fixture (C) to the fitter adapter (D) and
secure with the three set screws.
NOTE: Be sure to not overtighten the set screws.
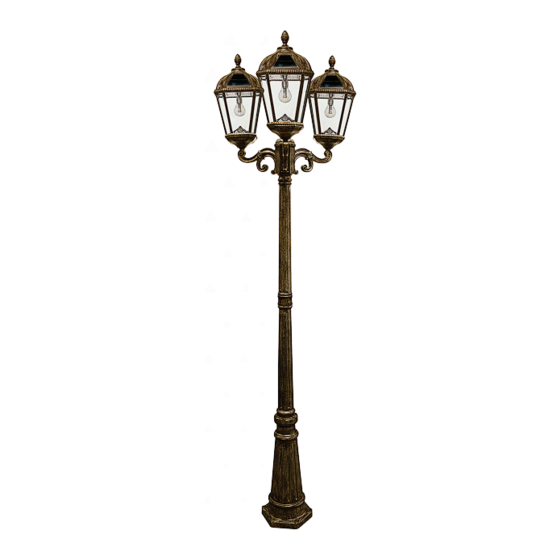
98B102/98B302/98B303
1. Using the provided template, mark and drill three holes
into concrete no larger than the provided anchors.
2. Place the anchors into the holes with the threaded
ends facing up.
3. Place the Base Pole (G) over the anchors and secure
using a wrench. Cover the nuts with the provided
plastic covers.
4. Place the middle pole (F) on top of the base pole (G)
and secure with the provided screws.
5. Attach the top pole (E) to the middle pole (F) by
twisting clockwise.
6. Remove the cap to the centerpiece (H/I) by removing
the three small screws.
7. Insert the fixture with arm (J) into the centerpiece (H/I)
and secure the threaded rod from the inside using the
nut.
8. On the outside secure the fixture with arm (J) using
the provided screw.
9. Repeat these steps to secure the second and/or third
fixture with arm to the centerpiece (H/I).
10. Place the cap back on the centerpiece (H/I) and secure
with the three screws.
11. With the help of another person, place the assembly
of lamp heads and centerpiece (H/I) on the top pole (E)
and twist clockwise until fully attached to the pole.
page 3
Operation Instructions
(follow these instructions for each lamp head)
1. Remove the two screw caps from the top (B).
2. Install the GS Solar LED Bulb into the lamp by
holding it at the base and turning clockwise.
3. Turn the operation switch to your desired setting:
Low = Softer light output and longer duration
High = Brighter light output
4. Place the top (B) back on the fixture and secure
with the two screw caps.
5. Install the finial (A) into the top (B) by twisting
clockwise.
Replacement Parts
Replacement Batteries and Bulbs are available
at www.gamasonic.com or via our Toll Free
number: +1-800-835-4113.
Your Lamp can use the following bulbs:
A50WW10W – included bulb with Warm White
LEDs (2700K)
A50BW10W – bulb with Bright White LEDs
(6000K)
F30WW05W – Flame bulb with simulated flame
LEDs
T45WW10W – Edison LED Bulb with Warm
White LEDs (2700k)
Your Lamp uses two of the following battery:
GS32V30