Gama Sonic GS-99B-S Buku Petunjuk - Halaman 2
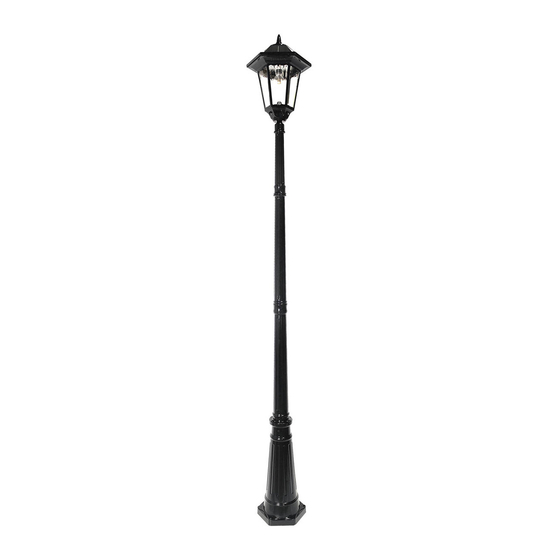
Jelajahi secara online atau unduh pdf Buku Petunjuk untuk Lentera Gama Sonic GS-99B-S. Gama Sonic GS-99B-S 4 halaman. Windsor bulb solar lamp post
Please read the instruction manual carefully to obtain the best results from your
WARNING: GAMA SONIC® Light bulbs are built and designed for Gama Sonic
products only. They are not designed to be used in other electrical sockets. For the
same reason, regular AC and/or Low Voltage bulbs cannot be used in Gama Sonic
products.
NOTE: If you are replacing an existing gas/electric post light, you must consult a
certified technician to cancel them before installation.
1. Solar Lamp Location
For optimum light duration throughout the night, it is very important to mount
your solar lamp post in a spot where it will receive the maximum amount of
direct sunlight throughout the day. The solar light must be charged in full sun for
two days in the "ON" position for the best results.
NOTE: The following steps are for reference only. Consult your local hardware store
for the best installation method for your chosen surface.
2. Installation Instructions (Using Included Hardware)
1. Mark three holes using the template and drill the holes using a 0.5-
inch drill bit, into a solid surface no smaller than the anchor bolts. The
holes shall be lined up with the holes of the lamp base.
2. Put the anchor bolts into the drilled holes with their threaded ends
facing up (Fig. 1).
3. Place the lamp base onto the anchor bolts and secure base with the
provided nuts using a wrench (Fig. 2).
4. Make sure the lamp base is stable before proceeding with installation.
(Fig. 1)
5. Place Part (B) over Part (A) and using a wrench or screwdriver, tighten
provided bolts (Fig. 3).
purchase.
(Fig. 2)
2