HIKOKI D13 Manual Petunjuk Penanganan - Halaman 4
Jelajahi secara online atau unduh pdf Manual Petunjuk Penanganan untuk Bor HIKOKI D13. HIKOKI D13 12 halaman.
English
5) Service
a) Have your power tool serviced by a qualifi ed
repair person using only identical replacement
parts.
This will ensure that the safety of the power tool is
maintained.
PRECAUTION
Keep children and infi rm persons away.
When not in use, tools should be stored out of reach
of children and infi rm persons.
DRILL SAFETY WARNINGS
1. Use auxiliary handle(s), if supplied with the tool.
Loss of control can cause personal injury.
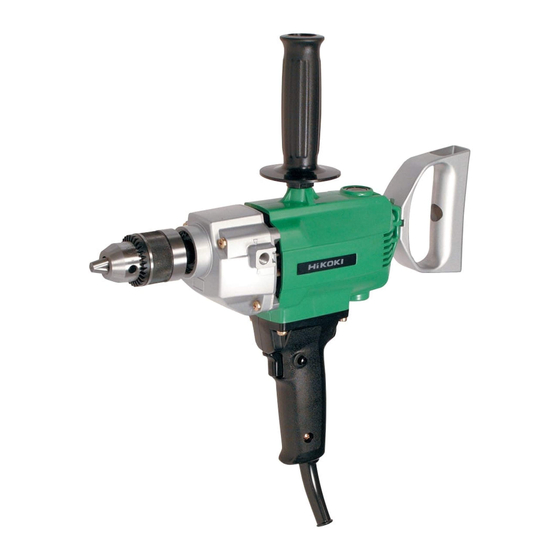
SPECIFICATIONS
Voltage (by areas)*
Power Input*
No-load speed*
Steel
Capacity
Wood
Weight (without cord)
* Be sure to check the nameplate on product as it is subject to change by areas.
STANDARD ACCESSORIES
(1) Chuck Wrench ..............................................................1
(2) Side handle ..................................................................1
Standard accessories are subject to change without notice.
OPTIONAL ACCESSORIES (sold separately)
(1) Handle joint
(2) Depth Stopper
Optional accessories are subject to change without notice.
APPLICATIONS
Drilling in metal, lumber and plastics.
PRIOR TO OPERATION
1. Power source
Ensure that the power source to be utilized conforms
to the power requirements specifi ed on the product
nameplate.
2. Power switch
Ensure that the power switch is in the OFF position. If
the plug is connected to a receptacle while the power
switch is in the ON position, the power tool will start
operating immediately, inviting serious accident.
3. Extension cord
When the work area is removed from the power source.
Use an extension cord of suffi cient thickness and rated
capacity. The extension cord should be kept as short as
practicable.
4
2. Hold power tool by insulated gripping surfaces,
when performing an operation where the cutting
accessory may contact hidden wiring or its own cord.
Cutting accessory contacting a "live" wire may make
exposed metal parts of the power tool "live" and could
give the operator an electric shock.
3. Never wear gloves during operation.
Gloves are sometimes caught by rotating parts,
resulting in serious injury. Do not use gloves during
operation.
4. Install the side handle and hold the tool fi rmly with both
hands.
One-hand operation is very dangerous. Always install
the side handle and hold the tool with both hands.
Holding the tool insuffi ciently can result in serious
damage during operation.
5. Hold the main handle by your right hand.
Holding the main handle by your left hand may make
the switch be unintentionally locked.
(110 V, 115 V, 120 V, 127 V, 220 V, 230 V, 240 V)
720 W
650 /min
13 mm
40 mm
3 kg
4. Confi rm the direction of bit rotation
The drill bit rotates clockwise (when viewed from the
rear) when the lever of the reversing switch is set to the
"R" position, and rotates in the reverse direction when
the lever of the reversing switch is set to the "L" position.
5. Fitting the drill bit
Fit the drill bit into the chuck and use the chuck key
to secure it, tightening the chuck by each of the three
holes in turn.
6. Selecting the appropriate drill bit
○ When boring metal or plastic
Use ordinary metalworking drill bits.
Sizes range from a minimum of 1.2 mm to chuck
maximum capacity.
○ When boring wood
Use ordinary woodworking drill bits.
However, when drilling 6.5 mm or smaller holes, use a
metalworking drill bit.
7. Installing spade handle
The spade handle can be installed on the back of
the drill. Insert the bolt through the hole in the spade
handle, locate the spade handle in the desired position
and tighten the bolt fi rmly.
8. Installing the side handle
The side handle screws into the housing on either side
of the gear cover. For safe operation, use of the side
handle is necessary. Especially in heavy duty drilling,
use handle joint and side handle.
9. Installing the depth stopper (optional accessory)
The depth stopper which is useful for adjusting the
drilling depth is available. Install the depth stopper to
the gear cover using the side handle or set screw.