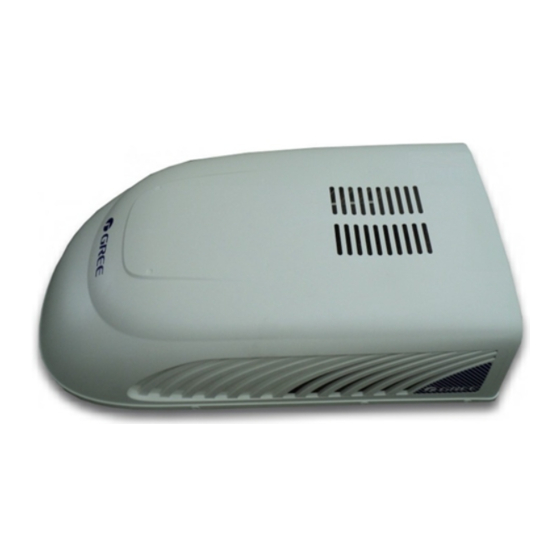
Gree RVA-135RHP Panduan Pengoperasian & Pemasangan Manual Pemilik - Halaman 12
Jelajahi secara online atau unduh pdf Panduan Pengoperasian & Pemasangan Manual Pemilik untuk Pendingin Udara Gree RVA-135RHP. Gree RVA-135RHP 20 halaman. Recreational vehicle air conditioner

- 1. Air Conditioner
- 1. 1 A few Words about Your New Air Conditioning Unit
- 1. Electrical Data
- 2. Table of Contents
- 2. 2 Electric Diagram
- 3. 3 Packing List
- 4. 4 Specifications
- 5. 5 Operation of Wireless Remote Control
- 6. 6 Control Panel
- 7. 7 Installation Instruction
- 7. Step 1-Selecting an Installation Location & Installing the Roof Top Air Conditioner
- 7. Step 2-Installing the Ceiling Assembly
- 7. Step 3-Electrical Wiring
- 7. Step 4-Completing the Installation
- 8. 8 Troubleshooting Guide
- 9. 9 Normal Maintenance Procedures
INSTALLA TION INSTRUCTION
BEFORE INSTALLATION
Testrun the unit with proper power supply. Refer to the
operation instruction section in the Owner's Manual
Operation & Installation. Make sure all the controls
operate correctly then disconnect the power supply
of the unit.
● Before installation, please do remove the auxiliary
sponge.
Moving parts may cause personal injury. Be careful when test the unit. Do not operate the unit
with exterior cover removed.
STEP 1-SELECTING AN INSTALLATION LOCATION &
INSTALLING THE ROOF TOP AIR CONDITIONER
Your air conditioner has been designed for use in recreational vehicles.
Check the roof of the vehicle to determine if it can support both the roof top unit and the ceiling
assembly without additional support. Make sure the interior ceiling mounting area will not
interfere with existing structures.
Once the location for your air conditioner has been determined.A reinforced and framed roof
hole opening must be cut (if there is no hole) or you may use existing vent holes.
CASE A.
If a roof vent is already present in the desired mounting location for the air conditioner, the
following steps must be performed:
1.
Remove all screws which secure the roof vent to the vehicle.Remove the vent and any
additional trim. Carefully remove all chalking from around the opening so the surface is
clear.
2.
It may be necessary to seal some of the old roof vent mounting screw holes which may
fall outside of the air conditioner basepan gasket.
3.
Examine the roof opening size, if the opening is small than 14''x14'', the opening must
be enlarged. If the opening exceeds 14''x14'', a mounting plate (frame) must be fabricated
to reduce the opening size (See Figure 1).
Before installation, please
do remove these auxiliary
sponges
WARNING
!
- 10 -
