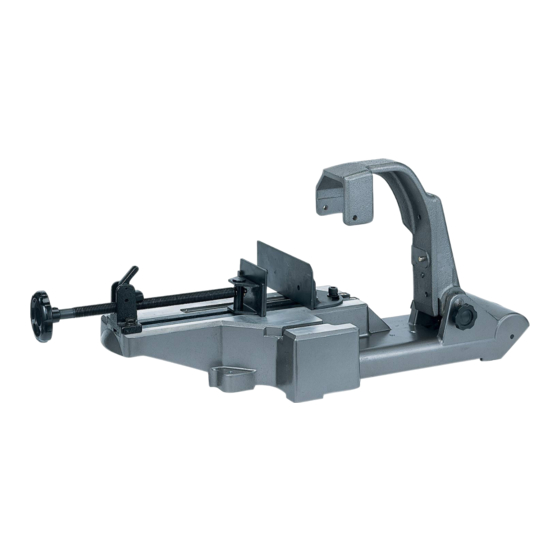
HIKOKI CB12-ST2 Petunjuk Penyerahan - Halaman 2
Jelajahi secara online atau unduh pdf Petunjuk Penyerahan untuk Melihat HIKOKI CB12-ST2. HIKOKI CB12-ST2 16 halaman. Band saw stand

English
BAND SAW STAND SAFETY
WARNINGS
● Correctly install the band saw stand by following the
instructions provided in the manual.
● In order to prevent accidents, when installing or removing
the band saw stand, turn the switch of the rotary band
saw off . If your band saw has a power cord, remove the
power plug from the outlet. If your band saw is a cordless
model, remove the battery from the main unit.
● After installing the band saw on the band saw stand,
follow the instructions provided in the manual of the
rotary band saw.
NAMES OF PARTS
D6 knob bolt
Bolt washer
Clutch
Vise (B)
Vise (A)
Knob
Base
Screw hole for keeping the stopper bolt
[Opposite side]
Spring
Spring stopper
Hexagonal wrenches
(4 mm and 8 mm)
SYMBOLS
WARNING
The following show symbols used for the machine.
Be sure that you understand their meaning before
use.
To reduce the risk of injury, user must read
instruction manual.
Warning
Hinge (B)
Hinge (A)
Stopper bolt
Fig. 1
STANDARD ACCESSORIES
Contour table
Used when carrying out
contour cutting work.
One
Slide cover holder
Used to install the slide
c o v e r a n d a d j u s t i t s
position during work.
Wheel
One
Vise guide
Used to adjust the angle
of the band saw blade
a n d c u t t h i n o r s m a l l
diameter workpieces.
One
Hexagonal wrench (8 mm)
Used to move vise (B)
and adjust the positions
of the hinges.
One
2
Slide cover
Used to prevent the band
saw blade from being
exposed during contour
cutting work.
One
Butterfly bolt
(5 mm)
Used to install the slide
cover holder on the main
unit.
One
Hexagonal wrench
(4 mm)
Used to adjust the lower
limit position of the band
saw blade.
One
Knob bolts
Bolt washers
Used to install a band
s aw o n t h e b a n d s aw
stand.
Two each
