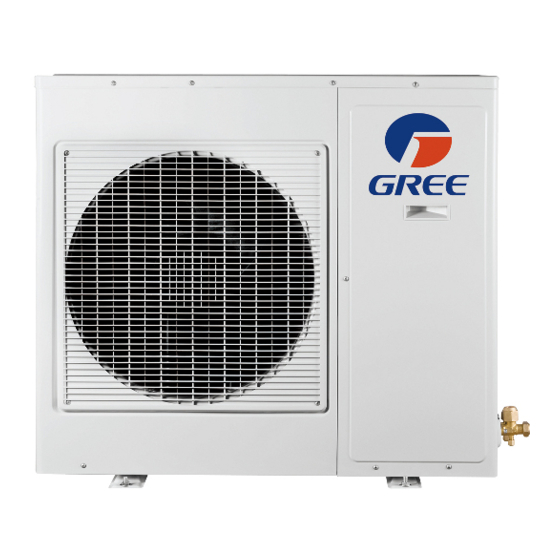
Gree GWHD(30)ND3CO Panduan Instalasi - Halaman 8
Jelajahi secara online atau unduh pdf Panduan Instalasi untuk Pompa Panas Gree GWHD(30)ND3CO. Gree GWHD(30)ND3CO 16 halaman. Multi
ductless inverter
Juga untuk Gree GWHD(30)ND3CO: Panduan Pemilik (11 halaman)

- 1. Heat Pump
- 2. Installation Manual
- 3. Table of Contents
- 4. Safety Precautions
- 5. System Requirements
- 6. Suggested Tools
- 7. Site Instructions
- 8. Dimensions
- 9. Indoor Unit
- 10. Outdoor Unit
- 11. Refrigerant Piping
- 12. Refrigerant Piping
- 13. Power and Wiring
- 14. Vacuum Testing
- 15. Start-Up
- 16. Troubleshooting
OUTDOOR UNIT PREPARATION
Step 5
Install Ground Pad or Wall Hangers
1. Determine proper location for outdoor unit.
2. Follow all instructions provided by manufacturer for installing wall hangers or ground pad.
3. Verify the wall hangers or ground pad can safely support the weight of the outdoor unit.
4. Verify the wall hangers or ground pad is level and meets all outdoor dimensional clearances.
Install Outdoor Unit Risers
If the outdoor unit requires added elevation above the ground, installing riser legs will provide
a sturdy and stable solution. Follow all instructions provided by manufacturer for installing
riser legs to outdoor unit.
NOTE: Riser legs will also help absorb vibrations and noise while facilitating proper drainage.
W RNING
Florida Wind Load Requirements state that outdoor unit must be anchored to
concrete pad using four 3/8-in diameter Power Wedge Bolt Plus (or equivalent)
with 1-in diameter fender washers. Anchor bolts must be embedded into
3,000 PSI minimum concrete at a distance of 4 1/2-in from any concrete edge.
The concrete thickness must exceed 1.5 times the anchor depth.
Install Condensate Drain for Outdoor Unit
During normal heating and defrost operation,
the outdoor unit will generate condensate water.
The condensate water should be routed to a safe
location through the drain hose.
1. Locate drain hole on bottom of outdoor unit.
2. Install the outdoor drain fitting into hole on
the bottom of outdoor unit as shown.
3. Connect the drain hose to drain fitting.
4. Route drain hose to safe location for proper
drainage of excess condensate water.
Drain Fitting Installation
13
INSTALLATION OF REFRIGERANT PIPING
Step 6
Piping Connections
C UTION
Use refrigeration grade tubing ONLY. No other type of tubing may be used. Use
of other types of tubing will void manufacturer's warranty. Make sure there is
enough piping to cover the required length between the outdoor and indoor unit.
Piping Preparation
• Do not open service valves or remove protective caps from tubing ends until all
connections are made.
• Keep tubing free of dirt, sand, moisture and contaminants.
• Use a flexible condensate drain hose to fit over the factory 5/8-inch (16mm) drainage hose.
• Insulate each refrigerant pipe and condensate hose with minimum 3/8" (10 mm) wall
thermal pipe insulation.
NOTE: Insulate condensate hose to prevent sweating which may cause water stains
or wall damage.
• Bind refrigerant pipes, condensate hose and interconnecting wire together with cable
ties at 12 inch intervals.
NOTE: A condensate pump accessory (sold separately) is recommended for the
indoor unit when adequate line pitch cannot be provided for drainage.
14
