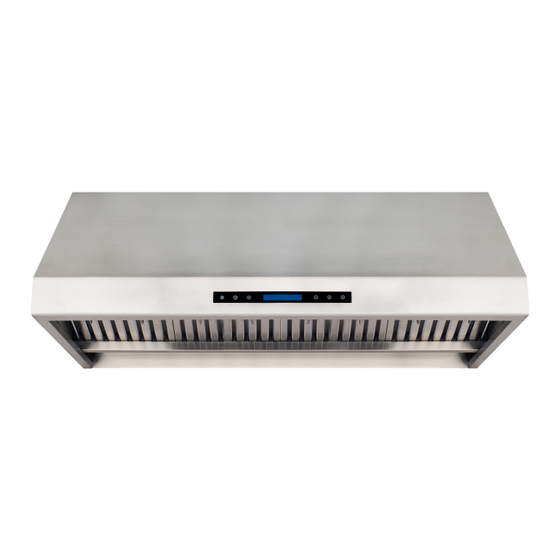
Adexa AP238-PS83-36 Panduan Instalasi / Panduan Penggunaan dan Perawatan - Halaman 12
Jelajahi secara online atau unduh pdf Panduan Instalasi / Panduan Penggunaan dan Perawatan untuk Kap Ventilasi Adexa AP238-PS83-36. Adexa AP238-PS83-36 20 halaman. Under-mount hood

INSTALLATION
Measure the distance between the cooking
surface and the bottom of the range hood. A
distance of 27" to 30" is recommended*.
*
Due to different ceiling height configurations, the
recommended height may not be applicable
Step 1: Determine the venting method and proceed if you would like tovent VERTICALLY.
(see INSTALLATION DIAGRAMS on page 7):
a.
Using references in the Height & Clearance diagram, determine and clearly mark the centerline
on the bottom of the cabinet.
b.
Draw electrical wires through cabinet access opening on top of the range hood (refer to figure 3),
center the hood beneath the cabinet and flush with the front of the cabinet.
c.
From inside the hood, place hood mounting screws in the exact center of each knockout holes
and secure to the cabinet bottom. Tighten all screws until secure. Be careful when using electrical
screwdriver in order not to damage the range hood. Connect and secure the 8'' round metal duct .
CAUTION: Make certain the range hood is secure before releasing!
For safety purpose, pre-drilled mounting holes are provided through the back of the hood. For a
Step 2 :
more secure installation,use as many mounting holes as needed to secure from the inside of hood.
Step 3 :
Use 7" round steel pipe (follow building codes in your area) to connect the exhaust on the hood to
the ductwork above.Use silver tape or duct tape to make all joints secure and air tight. Refer to Figure 5.
SAFETY WARNING: Risk of electrical shock. this range hood must be properly grounded.Make sure this is
done by qualified electrician in accordancewith all applicable national and local electrical codes. Before
connecting wires,switch power off at service panel and lock service panel to prevent power from being
switched on accidentally.
Step 4 :
Connect the range hood to a designated standard outlet or cut off the plug and connect three wires
(black,white andgreen) to house wires and cap with wire connectors.Connect according to colors
(i.e. black to black, white to white, and green to green) as shown in Figure 4.
Step 5 :
Store excess wires in the wiring box.
Figure
.
4
12
5
Figure
