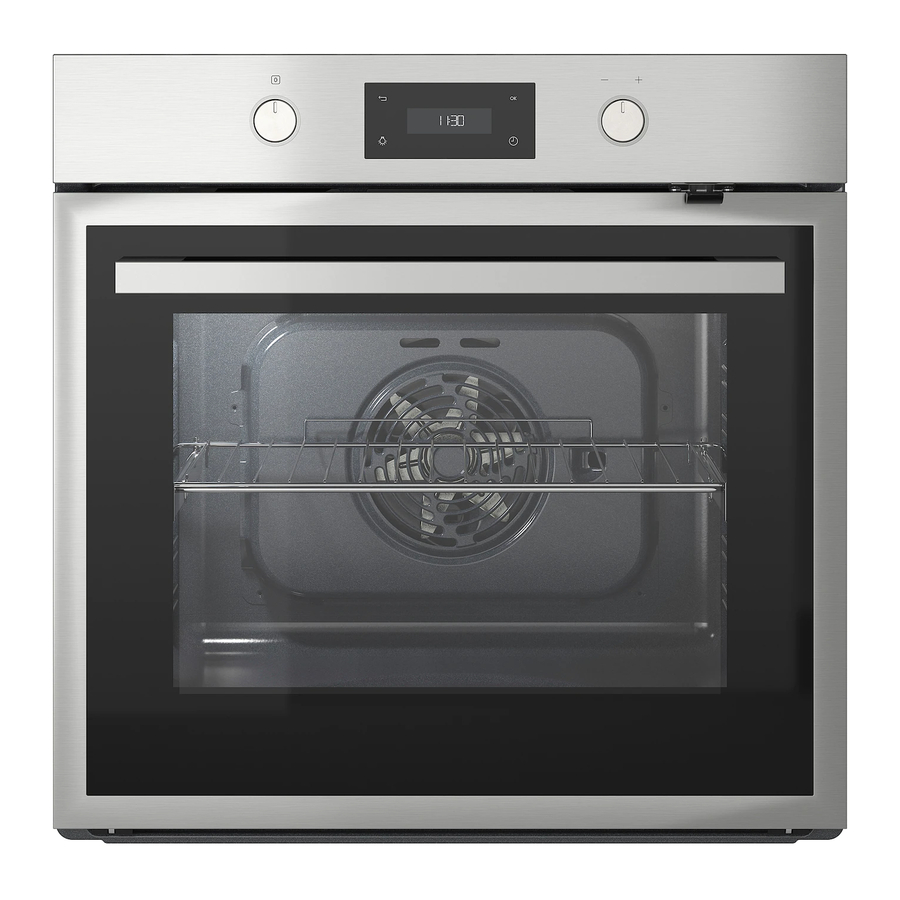
IKEA 705.178.77 Manual - Halaman 9
Jelajahi secara online atau unduh pdf Manual untuk Oven IKEA 705.178.77. IKEA 705.178.77 20 halaman.

ENGLISH
IMPORTANT: Remove all accessories before running the
pyrolysis function. To assure a better cleaning results of the
bottom of the oven.
IMPORTANT: During pyro-cleaning, the oven door is
automatically locked and the symbol appears on the display. The
door remains locked at the end of the cleaning cycle: "COOL"
appears on the display, indicating the oven is still cooling down.
When the oven cools to a safe temperature, the door is unlocked
and on the display will be shown the time of day.
N.B.: if the automatic door lock control procedure fails to
execute properly, the symbol appears on the display. If, on the
other hand, the door remains closed due to a fault in the locking
system, and "DOOR LATCHED" appear on the display. In this
case, contact the Authorized Service Centre.
Browning
At the end of cooking, with certain functions, the display
indicates the possibility of extra browning. This function can only
be used when cooking time has been set.
At the end of cooking time, the display shows: "PRESS
E
BROWN". Press
, and the oven starts a 5 minute browning
cycle. This function can be selected consecutively a maximum of
twice.
Oven functions table
The oven has 5 cooking levels. Count up from the lower level.
Function
OFF
FORCED AIR
CONVENTIONAL
(Top and Bottom Heat)
CONVECTION BAKE
MAXI COOKING
GRILL
TURBOGRILL
BREAD
PIZZA
ECO
FORCED AIR*
DEFROST
WARM KEEPING
E
TO
Description of function
For switching off the oven.
For cooking different foods that require the same cooking temperature on several shelves
(maximum three) at the same time. This function can be used to cook different foods without
odours being transferred from one food to another.
For cooking any kind of dish on one shelf only.
It is best to use the 2nd or the 3rd shelf. Preheat the oven before insert the food.
To cook meat and pies with liquid filling (savoury or sweet) on a
single shelf. Use the 2nd shelf. Preheat the oven before cooking.
To cook large joints of meat (above 2.5 kg). Use the 1st or 2nd shelf, depending on the size of the
joint. It is advisable to turn the meat over during cooking for more even browning. It is best to
baste the meat every now and again to avoid it drying out.
For grilling steaks, kebabs and sausages, cooking vegetables au gratin or toasting bread. It is
best to use the 4th or 5th Shelf. When grilling meat, we recommend using a drip tray to collect
the cooking juices: position the pan on the 3rd/4th level and add 500 ml of water. the oven door
should be closed during cooking.
To roast large joints of meat (legs, roast beef, chickens). Position the food on the middle shelves.
Use the drip tray to collect the cooking juices. Position it on the 1st/2nd shelf, adding approx.
half a litre of water. The oven does not have to be preheated. During cooking the oven door must
remain closed.
To bake different types and sizes of bread.
Simply indicate the values required (temperature and time) and the oven will manage the cooking
cycle automatically. Place the dough on the 2nd shelf.
To bake different types and sizes of pizza.
Simply indicate the values required (temperature and time) and the oven will manage the cooking cycle
automatically. Place the dough on the 2nd shelf.
To cook stuffed roasts and meat in pieces on one shelf. This function uses discontinuous, delicate
fan assistance, which prevents excessive drying of foods. In this ECO function the light remains
off during cooking and can be temporarily switched on again by pressing the confirm button.
In order to maximize energy efficiency, it is advisable not to open the door during cooking. It is
advisable to use 3rd level. The oven does not have to be preheated.
To speed up defrosting of food. Place food on the middle shelf.
Leave food in its packaging in order to prevent it from drying out on the outside.
For keeping just-cooked food hot and crisp (e.g: meat, fried food or flans). Place food on the
middle shelf.
Minute Minder
This option activate the minute minder only when there are
no other functions active. Keep pressing
«00:00» start flashing on the display, select and press ok to
confirm. An down the selected audible signal will sound once the
timer has finished counting.
9
until the
and
