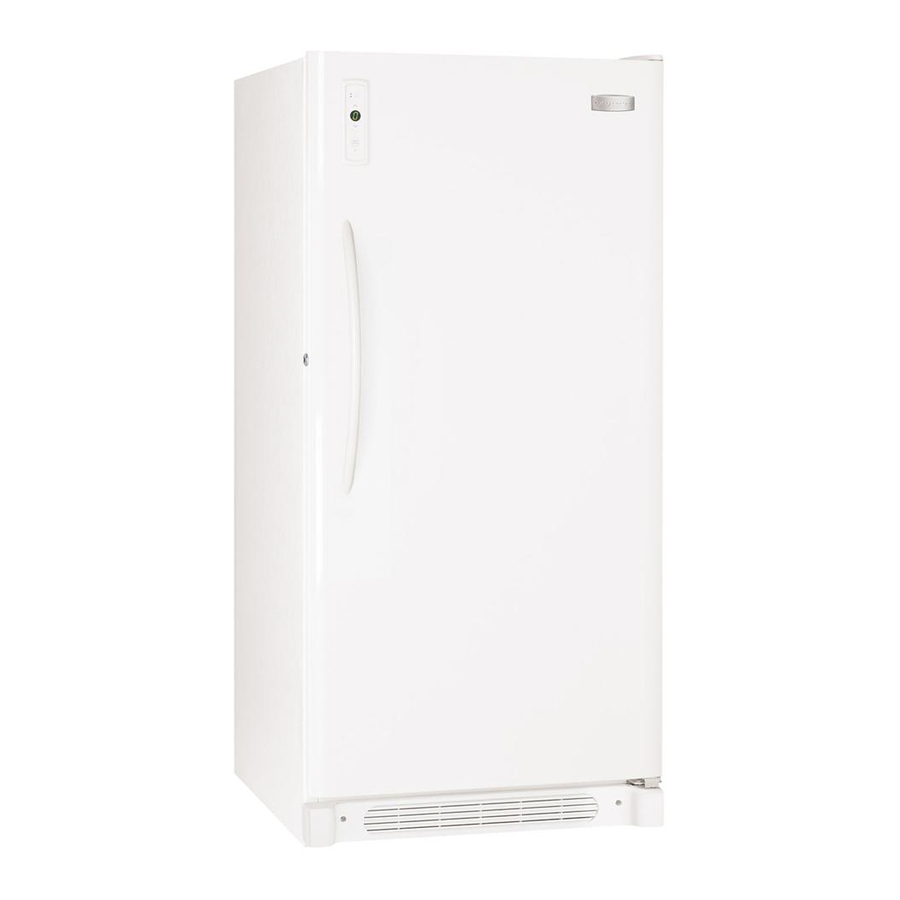
Frigidaire 297281400 Panduan Penggunaan dan Perawatan - Halaman 6
Jelajahi secara online atau unduh pdf Panduan Penggunaan dan Perawatan untuk Pembeku Frigidaire 297281400. Frigidaire 297281400 11 halaman. Frigidaire freezer use & care manual

- 1. Table of Contents
- 2. Product Registration
- 3. Important Safety Instructions
- 4. First Steps
- 4. PRIOR to USE Cleaning
- 4. DOOR Removal
- 5. Energy Saving Ideas
- 6. The Temperature Control
- 7. The Temperature Control
- 8. Freezer Optional Features
- 9. Care and Cleaning
- 10. Failures
- 11. Power Failure/Freezer Failure
- 12. Troubleshooting
- 13. Avoid Service Checklist
- 14. Warranty
ADJUSTABlE ShElF
This shelf can be moved to one or two positions. Lift the
shelf up and out to move to the desired location.
SlIDE-ASIDE BASkET
This basket helps organize odd-shaped items. To reach
other packages in the freezer, slide the basket aside, or lift
out.
Slide-Aside Basket
FAST FREEzING ShElVES (MANUAl DEFROST
UPRIGhT MODElS)
These shelves contain cooling coils to freeze foods quickly
and allow cold air to constantly circulate throughout the
freezer. Do not use sharp metal objects such as ice picks
or scrapers to clean the shelves. This could damage the
shelves and reduce their cooling ability. These shelves are
not adjustable.
TIlT-OUT ShElF (SOME UPRIGhT MODElS)
This shelf is located inside on the freezer door and pro-
vides additional storage space. To access an item, tilt the
top of the "basket" shelf down.
Tilt-Out Shelf
ADJUSTABlE DOOR BINS
Adjustable door bins are located inside on the freezer door
and provide flexible storage space. The number of bins
provided varies by model.
(SOME UPRIGhT MODElS)
(SOME ChEST MODElS)
(SOME UPRIGhT MODElS)
SOFT FREEzE zONE
Soft Freeze Zone is specifically designed to maintain a
higher temperature than the rest of the freezer to store
products such as ice cream.
PIzzA ShElF (SOME UPRIGhT MODElS)
Here is the place to store up to four extra-large boxes of frozen
pizza without ever having to dig them out from beneath a pile
of other stored goods.
The pizza shelf can be retracted to provide space for larger
items on the shelf below, and still store up to two more
pizzas.
BASkET DIVIDER (SOME UPRIGhT MODElS)
Use these handy dividers to keep the various items stored
in your baskets more organized. To change the location of
the divider simply slide your basket out, grab the divider
from the center and rotate in a counter-clockwise direction
until it is disengaged. To assemble, simply align as shown
in the figure below and rotate in a clockwise direction until
it spans into place.
6
(SOME UPRIGhT MODElS)
