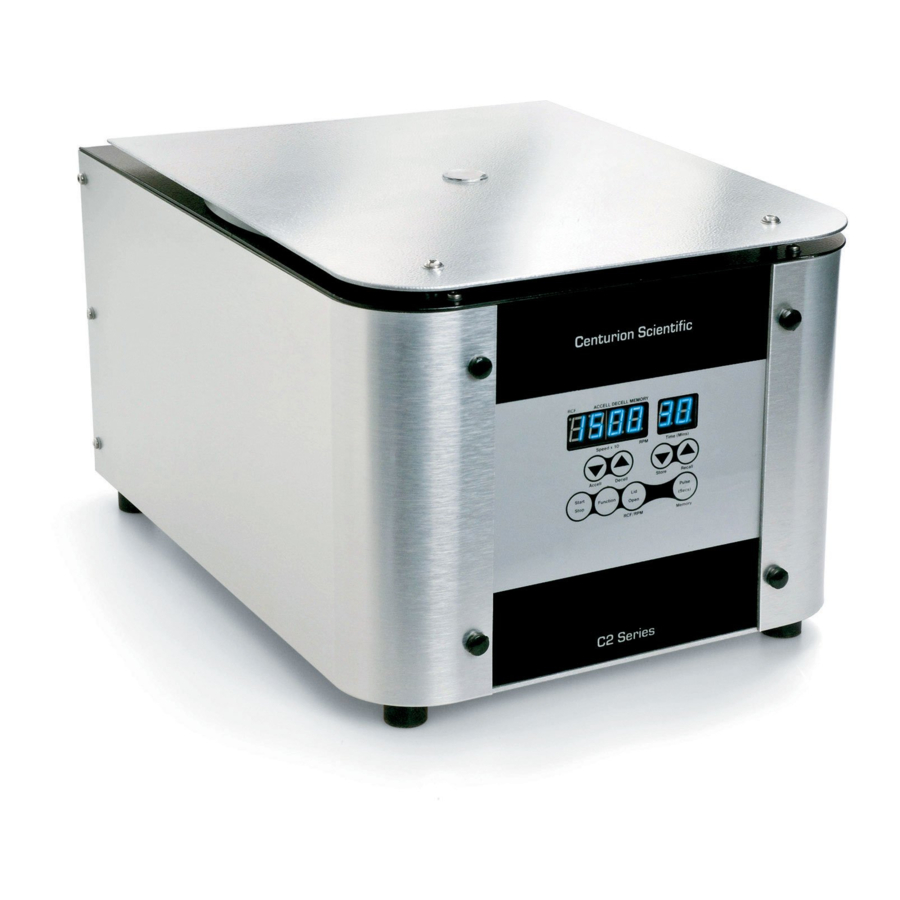
Centurion Scientific C2006 Buku Petunjuk - Halaman 3
Jelajahi secara online atau unduh pdf Buku Petunjuk untuk Peralatan Laboratorium Centurion Scientific C2006. Centurion Scientific C2006 6 halaman. Led benchtop centrifuges

The instrument has been designed in such a way that installation should present no problems to
a technician familiar with equipment of this type.
Should any problems of questions arise during the installation of the instrument please refer to
Centurion Scientific for advice. During installation the record for the individual centrifuge (to be
found with our manual) must be completed.
The work surface must be stable and, where possible, resonance free – a standard laboratory
bench is usually suitable. The location of the centrifuge should be well ventilated and out of
direct sunlight, having sufficient room to allow air to circulate around it freely. A safety zone
extending for 30cm in all directions must be maintained around the centrifuge. This space
should be kept clear, in particular no hazardous material may be place in the area during
centrifugation.
Before connecting the unit to the mains, ensure that the voltage and frequency of supply
match the specifications on the instrument. A mains plug, provided with a 5 amp fuse and of a
type suitable for use where the centrifuge is to be installed, should be fitted. This plug must be
wired up according to the international convention.
The rotor assembly locates on to the tapered shaft of the drive shaft, being held securely in position
by a flat washer and locking screw. It is important that these items are assembled in the correct
order and that the washer is used as intended.
To locate the rotor first, check that both the exterior surface of the shaft and the tapered bore of the
rotor itself are free dire or any foreign debris.
The rotor should then be lowered into position on the tapered shaft, care being taken to ensure that
it seats firmly and evenly. The flat washer followed by the screw is then placed into the threaded
portion of the shaft, the assembly then being secured by the screw. The screw should be hand
tightened with the key provided.
Rotor bolt fixing
