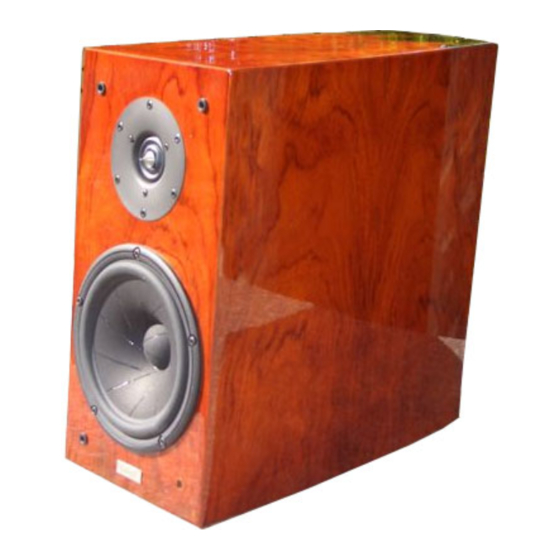
Gamut L7 Panduan Pengguna - Halaman 5
Jelajahi secara online atau unduh pdf Panduan Pengguna untuk Pembicara Gamut L7. Gamut L7 12 halaman. L series

What's in the "box"?
Unpacking
You have at this point successfully unscrewed the cover of the
wooden transportation box, because you are now reading this
manual!
L3, L5 & L7 Turn the wooden box upside-down so the
opening is facing downwards and gently pull the wooden box
upwards, so the inner cardboard box slides free.
Alternatively for L5 & L7: lay the wooden box on its side or
back and pull out the inner cardboard box, you may need to be
2 people to do this!
L5 & L7: these two speakers also contain a small carton with
the following parts:
• 2 stainless steel rails with six small holes and
two large holes
• 4 spikes
• 4 adjustment knobs
• 4 small diameter positioning lock rings
(to lock the position of the spike)
• 4 large diameter counter screw rings
(to lock the adjustment knob)
• 4 support discs
• 12 screws
Gently cut open the large cardboard box with a small sharp
knife. Be very careful not to cut too deep so the speaker's
hand-polished surface is damaged.
L3: Pull up the top foam lid, so you have access to the speakers
that are packed inside cotton bags. Lift the speakers out of the
box one by one. Now take each speaker out of its bag so it is
ready to place on a stand or your bookshelf after you have read
"How to connect" and "Location, location, location".
L5 & L7: Twist all four cardboard flaps outwards away from the
opening. Place the carton vertically with the opening downwards
on a thick carpet or other soft surface. Carefully slide the speaker
out while pulling the carton upwards, but be careful that you do
not hit anything, e.g. lamps or the ceiling.Also take care that the
speaker does not fall.
Alternatively for L5 & L7: place the carton on the side,
twist all four cardboard flaps outwards. Gently pull out the
speaker making sure none of the polystyrene rings are moving
and harming terminals etc.
Place the speaker so the bag opening is facing upwards.
Carefully slide the thick polystyrene rings off, make sure the
speaker terminals are not harmed.
Mount the spikes (see instruction page 5)
After mounting of the spikes take each speaker out of its bag, so
it is ready to place in its position after you have read the sections
"How to connect" and "Location, location, location".
To avoid harming your wooden floors or other delicate surfaces
we supply 4 small stainless steel disks with each speaker to posi-
tion underneath each spike. use those if needed.
Even for softer surfaces or less delicate surfaces, these disks may
prove beneficial, as they assure an even coupling to the surface,
and allow for easier adjustment of the spikes.
Remember to keep all packing materials in a safe place in case you
need them for transportation at a later time.
4
