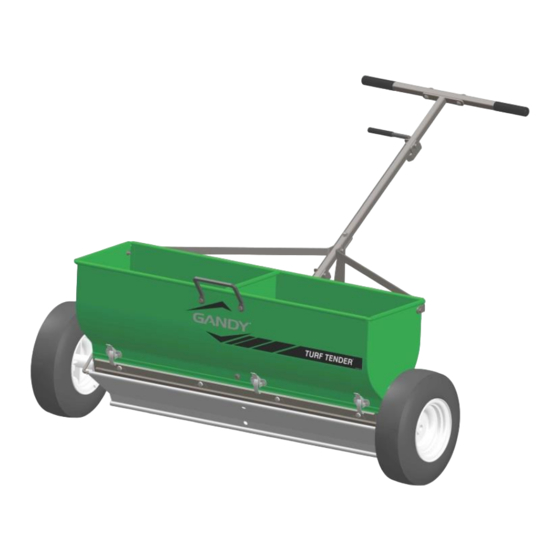
Gandy 24H12 Panduan Operator - Halaman 4
Jelajahi secara online atau unduh pdf Panduan Operator untuk Penyebar Gandy 24H12. Gandy 24H12 10 halaman. 24” & 36” spreaders
Juga untuk Gandy 24H12: Panduan Operator (8 halaman), Panduan Operator (8 halaman)

1. Determine Push / Pull Speed of Application
Determine the speed at which you are going to push or pull the spreader.
The speed at which you travel has direct effect on the rate you apply.
Note: Average slow walking speed is about 2 to 2-1/2 miles per hour for reference.
Try to walk a fairly consistent speed each time.
When pulling the spreader with a lawn mower or small tractor that does not have a speedometer make sure
you use the same gear and throttle settings for each pass to control your application speed.
With the same cam gauge setting, the rate of application at one mile per hour is twice that at two miles per hour.
Example: If you calibrate for 2-1/2 mph but apply at 5 mph you will only apply half your desired application rate.
Likewise, if you calibrate for 5 mph but apply at 2-1/2 mph you will double your application rate.
Use chart below to determine your speed by distances traveled in one minute.
1 mph
Traveled in 1 min.
88 Ft.
2. Determine Rate of Application
See the product label on the bag of material you wish to apply to determine your rate of application,
safety guidelines for handling the material and any restrictions for applying.
Note: Most products are listed in pounds applied per 1,000 square feet.
3. Setting Cam Gauge
Refer to the rate charts supplied with your spreader for a suggested starting cam gauge setting.
If the desired material is not listed in the chart you will have to calibrate that material with the spreader.
Move cam gauge away from the stop (close bottom openings) before attempting adjustment.
Loosen wing nut and turn cam gauge to desired number, using the top surface of the stop as the
setting indicator and then tighten wing nut. See picture of cam gauge set at "65".
For example, if the spreader is to be used with the bottom completely open, the
cam gauge would be turned until the graduating mark directly opposite the
number 80 is in line with the top edge of the stop.
Likewise, if the spreader were to be half open, the graduation mark opposite the
number 40 would be in line with the top edge of the stop.
Note: Numbers on the cam gauge DO NOT represent any application rate, they
are reference numbers only for setting repeatability.
You can "fine tune" the application rate with precision.
You can adjust the cam gauge so it is set in between the marks.
This opens the bottom half the distance as the full mark.
The fine adjustments are possible because the cam gauge is attached directly to the slide.
Remember the settings in the rate charts are only guide lines for beginning calibration.
Formulations (size of material) can vary from brands, batches and from year to year.
It is the responsibility of the operator to properly calibrate the spreader before applying any materials.
Caution: When applying high potency fertilizers that will burn, be sure to be moving when beginning application.
Check your results as outlined in Step 4 and make adjustments as necessary.
Calibration / Application Instructions
2-1/2
2 mph
mph
176 Ft.
220 Ft.
3-1/2
3 mph
mph
264 Ft.
308 Ft.
~ 2 ~
4-1/2
4 mph
mph
352 Ft.
396 Ft.
5 mph
440 Ft.
