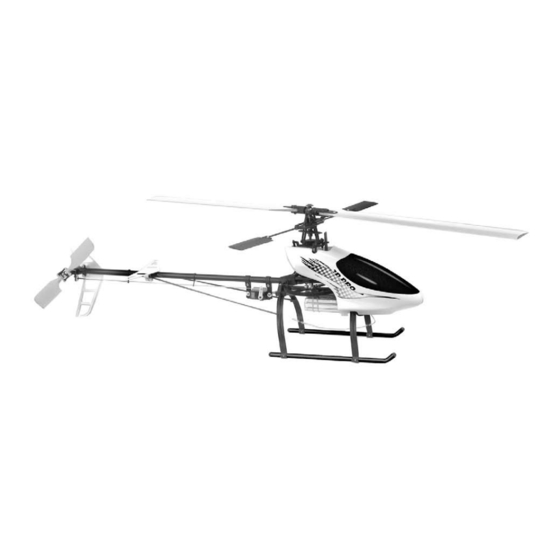
Century Helicopter Products Hummingbird Elite 3D Pro Buku Petunjuk - Halaman 5
Jelajahi secara online atau unduh pdf Buku Petunjuk untuk Mainan Century Helicopter Products Hummingbird Elite 3D Pro. Century Helicopter Products Hummingbird Elite 3D Pro 10 halaman.
Juga untuk Century Helicopter Products Hummingbird Elite 3D Pro: Manual Perakitan dan Instruksi (12 halaman)

Section 5
MOUNTING YOUR SERVOS (USE SECTION 4 FOR DETAILS)
1. Insert the pushrod into the hole on
the servo arm farthest from the output
(10-12mm from center).
2. Place servo tape on the mounting
surface before mounting the servo.
3. Note that the elevator servo is
mounted slightly forward (3mm or so).
This will ensure that the arm can move
freely (avoiding contact with the frame).
4
7. Turn the radio on with all sticks and trims centered. Verify
also that paddles, swashplate & servo horns are parallel to
each other and also 90 degrees to the main shaft when all
sticks are centered.
Adjust the lengths of the pushrods by twisting the ball links
clockwise to shorten. Twist counter-clockwise to increase the
rod length.
8.) The Elite 3D Pro helicopter uses the 120 degree eCCPM
control system. This system will require a computer helicopter
radio that supports 120 degree eCCPM. Refer to Page 6 for
detailed instructions on how to use eCCPM.
Top View
Collective
Pitch Servo
8
Elevator
servo
Servo Installation And Pushrod Setup
1
6
5
Front
Aileron
servo
For The 3D Pro
2
4. If the servo has a label on the same side
that will mount with servo tape, peel off the
label and clean the surface using rubbing
alcohol. Once the mounting position of the
servo is determined carefully mount the servo
to the mast tower.
5. After mounting the servo. Place the plastic
ball link on the corresponding control ball on
the swashplate. Only use the large end of the
tapered opening on the ball link.
6. There are 3 servos needed on the 3D
Pro. When mounted they should appear as
pictured.
Main shaft
Swashplate
Adjustable
pushrod and
ball link
Servo horn
IMPORTANT:
!
Refer to Page 6 for
detailed instructions on
how to use the eCCPM
control system.
3
7
Ball Links
The correct side of the ball
link to mount has a larger
opening than the other side
and also has a lip in the
plastic around the opening.
Ball link closed end
Ball link open end with lip
5
