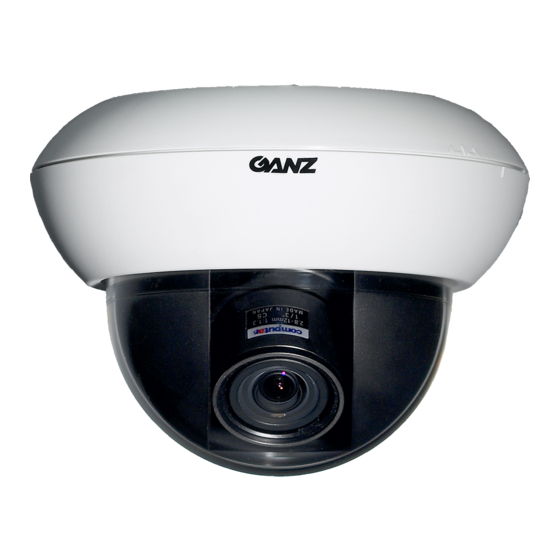
Ganz ZC-D5025NHAT Buku Petunjuk - Halaman 6
Jelajahi secara online atau unduh pdf Buku Petunjuk untuk Kamera Keamanan Ganz ZC-D5025NHAT. Ganz ZC-D5025NHAT 12 halaman. Mini dome camera

Embedding in the ceiling or wall
Be sure to use the adapter ring when embedding the unit in the ceiling or
wall.
1
Drilling holes in the ceiling or wall
Use the template included to mark out the position on the ceiling or wall where
you want to install the unit.
●
Use the template, drill two holes for screws (Screw B) used to attach the adapter
ring. Then, follow the perforations on the template and cut out a hole to embed
the camera body.
Attention
Double check to make sure that the sizes and positions of the holes are
●
appropriate BEFORE drilling the holes.
Attaching the adapter ring
2
Attach the adapter ring to the ceiling
or wall to which you want to attach the
camera body.
●
Please use fixing screws suitable
for the material of the ceiling or wall
when attaching the camera body. We
recommend using screws with a 4mm
diameter.
3
Attaching the camera body
Remove the surface mount cover from
the camera body.
Remove the body cover and attach the
camera body to the adapter ring.
●
Please use the self-tapping screws
included. Do not use any other
screws.
When you finish attaching the camera, refer to page EG-7.
Attaching to a 4S junction box
Be sure to use the adapter ring to attach the camera body when embedding
it in the 4S junction box.
1
Attaching the adapter ring
Attach the adapter ring to the 4S
junction box.
●
Please use screws that are suitable
for the 4S junction box.
Attention
Do not tighten the screws to the extent that the adapter ring is bent.
●
2
Attaching the camera body
Remove the surface mount cover
from the camera body.
Remove the body cover and
attach the camera body to the
adapter ring.
●
Please use the self-tapping
screws included. Do not use
any other screws.
When you finish attaching the camera, refer to page EG-7.
EG-6
