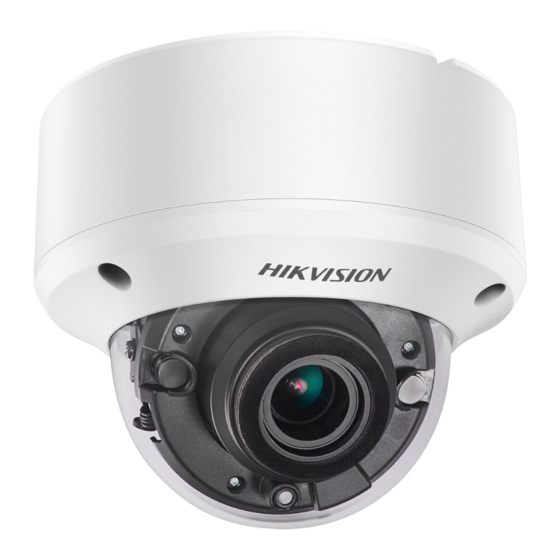
HIKVISION Turbo HD DS-2CE56D8T-ITZE Panduan Pengguna - Halaman 10
Jelajahi secara online atau unduh pdf Panduan Pengguna untuk Kamera Keamanan HIKVISION Turbo HD DS-2CE56D8T-ITZE. HIKVISION Turbo HD DS-2CE56D8T-ITZE 17 halaman.

2.3 Ceiling Mounting of Type IV Camera
Steps:
1. Disassemble the bubble by anti-clockwise rotating
the camera.
Figure 2-14 Disassemble the Camera
2. Paste the dill template to the ceiling.
3. Drill the screw holes and cable hole (optional) on
the ceiling according to the drill template.
Note:
Drill the cable hole, when adopting the ceiling outlet to
route cables.
4. Secure the adapter plate on the ceiling with four
PA4 × 25 screws.
Figure 2-16 Secure the Adapter Plate
Note:
The supplied screw package contains self-tapping
screws, and expansion bolts.
For cement ceiling, expansion bolts are required to
install the camera. For wooden ceiling, self-tapping
screws are required.
5. Route the cables through the cable hole, or the side
opening.
6. Secure the camera on the adapter plate.
Figure 2-15 The Drill Template
