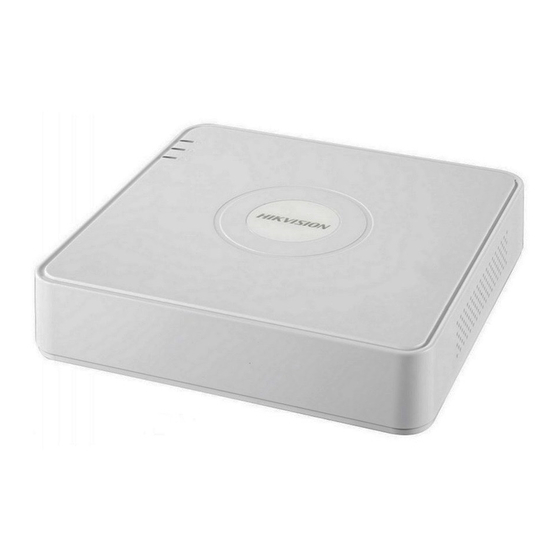
HIKVISION DS-7104HQHI-K1 Panduan Memulai Cepat - Halaman 6
Jelajahi secara online atau unduh pdf Panduan Memulai Cepat untuk DVR HIKVISION DS-7104HQHI-K1. HIKVISION DS-7104HQHI-K1 17 halaman. Network/digital video recorder
Juga untuk HIKVISION DS-7104HQHI-K1: Panduan Memulai Cepat (17 halaman), Panduan Memulai Cepat (8 halaman)
Chapter 1 Rear Panel Interfaces Description
The rear panel interfaces vary with different models. Refer to Table 1-1 for the common interfaces description
of rear panels.
Item
VIDEO IN
AUDIO IN
LINE IN
VGA
RS-485 Interface
LAN
ALARM IN/OUT
Power Switch
DVR Installation
During installation of the DVR:
Use brackets for rack mounting.
Ensure ample room for audio and video cables.
When routing cables, ensure the bend radius of the cables are no less than five times of its diameter.
Allow at least 2 cm (≈0.75 inch) of space among racks mounted devices.
Ensure the DVR is grounded.
Environmental temperature should be within the range of -10 °C to 55 °C (14 °F to 131 °F).
Environmental humidity should be within the range of 10% to 90%.
HDD Installation
For DVR that has not been pre-installed HDD, it requires to install HDD for storage.
Digital Video Recorder Quick Start Guide
Common Interfaces Description of Rear Panels
Description
BNC interface for Turbo HD
and analog video input
RCA connector
Connector for two-way
audio input
DB15 connector for VGA
output. Displays local video
output and menu.
Connector for RS-485
devices
Connector for network
Connector for alarm
input/output
Switch for turning on/off
the device
Chapter 2 Installation and Connections
Item
Description
VIDEO OUT
BNC connector for video output
AUDIO OUT
RCA connector
Universal Serial Bus (USB) port
USB Interface
for additional devices
HDMI
HDMI video output connector
RS-232
Connector for RS-232 devices
Interface
Storage and expansion interface
eSATA
for record or backup
GND
Ground
100 to 240 VAC, 48 VDC, or 12
Power Supply
VDC for different models
5