ES - Receptor y el servo conexiones
Aeroplano
Aircraft
para la batería
to battery
Interruptor cable
toma de carga
Switch harness
Charging jack
Receptor
Receiver
Helicóptero
Helicopter
para la batería
to battery
Interruptor cable
toma de carga
Switch harness
Charging jack
Receptor
Receiver
Batería
Battery
2,4 GHz. Procedimiento
1. Emparejamiento – "Binding"
Como norma general se recibe el receptor con la emisora ya emparejada de fábrica, así que Ud. no
tendría que hacerlo. Sin embargo, si quiere utilizar otra emisora o receptor (siempre que sea de la
misma marca), primero tendrá que emparejarlos.
En dicho caso proceda de la siguiente manera :
1. Install batteries in the transmitter and turn it off.
2. Connect the binding jumper to the battery port of the receiver.
3. Connect the battery of the receiver to any channel power supply. The red LED with blink
indicating that it is in binding mode.
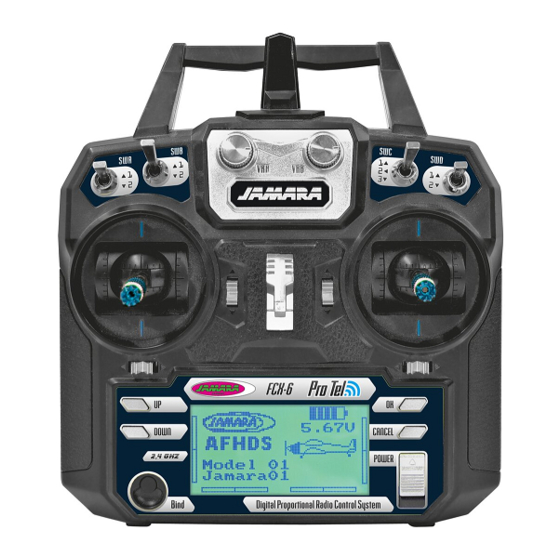
4. Press and hold the bind key of the transmitter and turn it on.
5. Se el LED rojo del receptor parpadea más lento, el proceso de binding está completo. Ahora
quando se tire el puente, el LED rojo se enciende de forma permanente.
6. Desconecte ahora el receptor de la corriente.
7. Después vuelva a encender la emisora.
8. Conecte todos los servos al receptor y conecte el receptor a la corriente.
9. Compruebe si todos los servos funcionan correctamente.
10. Si no fuera así, debe repetir todo el procedimiento desde el principio
11. Una vez que haya programado y ajustado su modelo, se debe repetir el proceso de binding,
para que el ajuste y los parámetros se trasmiten completamente desde la emisora/receptor.
Receptor
Receiver
Saltador Binding
Binding jumper
GB - Receiver and servo connections
CH6
CH5
CH4
CH6
CH3
CH2
independiente
de alerón y flaps
(1 cada uno)
Independent Aileron & Flap
CH1
CH6
CH3
CH2
CH1
2,4 GHz Operation notes
1. Binding
The supplied transmitter and receiver are already bound at production time so you don't need to
do it. If you are using another transmitter or receiver, you have to first bind them before use as
described below:
1. Install batteries in the transmitter and turn it off.
2. Connect the binding jumper to the battery port of the receiver.
3. Connect the battery of the receiver to any channel power supply. The red LED with blink
indicating that it is in binding mode.
4. Press and hold the bind key of the transmitter and turn it on.
5. The binding process is finished when the red indicator on receiver flashes more slowly than
before. Pull out the binding wire and the red indicator stays on.
6. Disconnect the receiver battery.
7. Turn off then back on the transmitter.
8. Connect all the servos to the receiver then connect its battery.
9. Check if all servos are working as expected.
10. If anything is wrong, restart this procedure from the beginning.
11. Once you have programmed and set-up your model, you should bind once again so that the set
parameters are assigned tot he Transmitter/ Receiver.
CH1
CH1
CH6
CH2
CH2
CH4
CH4
Aileron modo
(2 servos de aleron separado)
CH 1 & 6
Flaperon mode
(dual aileron servo),
CH 1 & 6
Gyro sensory (CH5), Timón (CH4)
Gyro sensory (CH5), Rudder (CH4)
Sistema Gyro opcional
Optional Gyro system
Servo del timón
Rudder servo
3

