CORNING Cell Counter Buku Petunjuk - Halaman 8
Jelajahi secara online atau unduh pdf Buku Petunjuk untuk Peralatan Laboratorium CORNING Cell Counter. CORNING Cell Counter 15 halaman. Accurate cell counts in a flash

Live/Dead Sample Loading
To perform a live/dead analysis, we recommend using the standard Trypan blue
technique. Mix a minimum of 20 µL sample with 20 µL trypan blue by using a 20 µL
pipet. Next load 10 µL of the sample mixture into the counting chamber.
Note: Remember to correct the results when a dilution is used, as the Corning®
Cell Counter does not correct for this automatically.
Counting Chamber Placement
The optical window of the Corning Cell Counter must be clean. You can check this by
monitoring the live screen. If any debris is present, you will see it in the CytoSMART™
Cloud App.
If any debris is visible, clean the optical window using lint-free wipes before placing the
counting chamber in the adapter plate.
When the sample is loaded in the counting chamber and the adapter plate has been
installed, you can place the counting chamber in the adapter plate that has been
inserted on the Corning Cell Counter.
14
C O R N I N G C E L L C O U N T E R
4.0 Performing a Cell Count
After placing the loaded counting chamber on the Corning® Cell Counter, you can see an
image of the cell sample in the live screen (Figure 17).
Focusing of the Cells
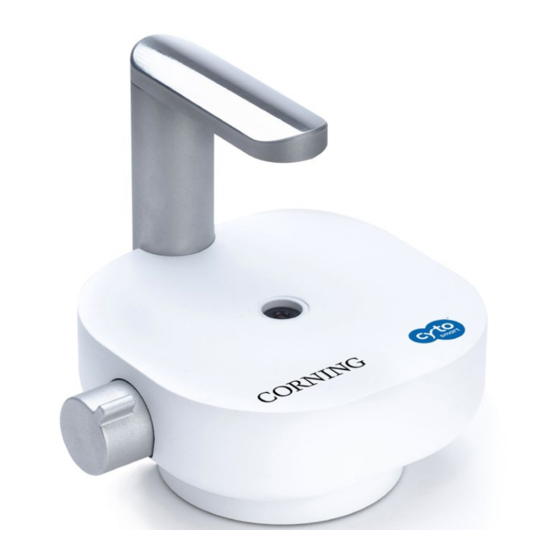
Use the focus knob to adjust the focus of the image. To focus, turn the knob clockwise or
counter clockwise. For best results, ensure you have the correct focus on your tablet or PC.
For proper analysis, you should be seeing a contrast: living cells having bright centers
and dark edges (Figure 18). To achieve this, using the focus knob, set the focus just
above the cell.
We recommend trying multiple focus levels to determine which focus setting to use.
A
Figure 17. Live screen of the CytoSMART™
Cloud App
Important: The image seen on the live screen is a digital magnification of the field of
view, to allow for better focusing. The unmagnified image can be seen by clicking on the
magnifying glass (Figure 17A).
Figure 18. Correct focus settings
Instruction Manual
15
