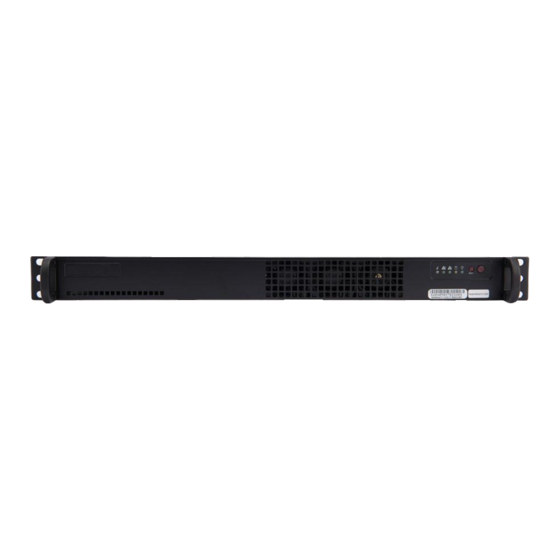
CORNING PSM-I Panduan Instalasi Cepat - Halaman 13
Jelajahi secara online atau unduh pdf Panduan Instalasi Cepat untuk Perangkat Keras Jaringan CORNING PSM-I. CORNING PSM-I 13 halaman. Head end equipment

ONE SD-LAN Head
End Equipment
Quick Installation Guide
SD-LAN-000-HEEQUIP
Step 6
Make sure outgoing cables are
routed and strain relieved properly to
housing
Step 7
Connect jumpers from Head End
Active equipment to the appropriate
port on CCH panels
METHOD C. CCH Pigtailed Splice Cassettes
Step 1
Use CCH Pigtailed Splice Cassettes
to interconnect Head Equipment and
outgoing fiber cables
Step 2
Terminate fiber in CCH Splice
cassette using Corning standard
recommended procedure
(http://csmedia.corning.com/
opcomm/Resource_Documents/
SRPs_rl/003-895.pdf)
Step 3
Insert CCH splice cassettes into
housing
Step 4
Route fiber in back of CCH housing
making sure the minimum bend
radius is not exceeded and
fibers are not pinched or damaged
Step 5
Make sure outgoing cables are
routed and strain relieved properly to
housing
Step 6
Connect jumpers from Head End
Active equipment to the appropriate
port on CCH splice cassettes
Qucik Installation I SD-LAN-000-HEEQUIP
| Page 13
