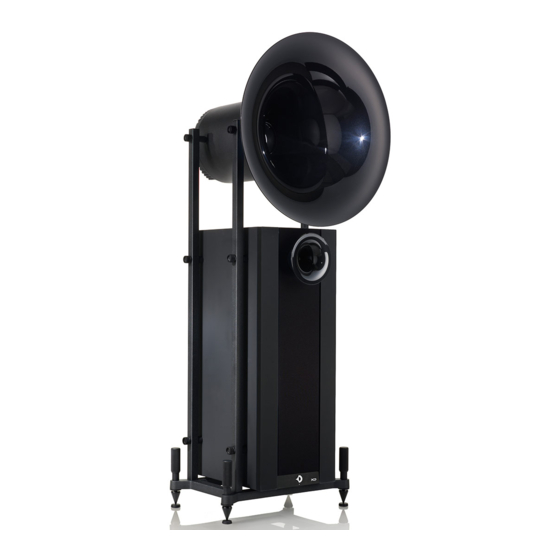
Avantgarde duo xd series Panduan Pengguna - Halaman 11
Jelajahi secara online atau unduh pdf Panduan Pengguna untuk Pembicara Avantgarde duo xd series. Avantgarde duo xd series 15 halaman.

SYSTEM AUFBAU TIPPS
ALLGEMEINE TIPPS
• Wir empfehlen aus optischen Gründen, jeweils die run-
de Gestellstange nach innen zu stellen. Das verleiht der
Aufstellung Luftigkeit und Transparenz. Die lichte Weite
zwischen den Mitteltonhörnern sollte mindestens 1,50 m
betragen.
• Der Lautsprecher verursacht aufgrund der kontrollierten
Abstrahlcharakteristik der Hörner weniger unerwünschte
Reflexionen durch die Raumwände und kann deshalb auch
direkt vor der Rückwand bzw. in Raumecken (beide oder
nur ein Lautsprecher in der Ecke!) aufgestellt werden. Nur
der Basspegel muss dann in der Regel angepasst werden.
Um Kratzer auf dem Fußboden zu vermeiden, die Spike–
Schutzverpackung vorerst nicht entfernen, wenn während
der Installation der Lautsprecher verschoben wird. Erst
ganz zum Schluss die Spike–Schutzverpackung abnehmen.
PLAZIERUNG UND ANWINKELN DES SYSTEMS
• Für die Hornsysteme einen Standplatz wählen, an dem
die Lautsprecher und der bevorzugte Hörplatz annähernd
ein gleichseitiges Dreieck bilden. Idealerweise beträgt die
Kantenlänge jeweils ca. 3,0m.
• Die Systeme sollten so angewinkelt werden, dass die Hör-
ner direkt auf den Hörplatz zeigen.
60
0
20
SYSTEM SET UP TIPS
GENERAL TIPS
• For optical reasons we recommend to place both speak-
ers in a way that the single round steel frame is on the
inside. This will make the installation visually „lighter" and
more „transparent". The recommended minimum clearance
between the speakers is approx. 5 feet (1,50 m).
• Due to the controlled dispersion characteristics of the
horns the speaker will excite less unwanted reflections
from the room walls and thus can be positioned directly in
front of back walls or close into corners (both or only one
speaker in the corner!). in this case only the subwoofer level
needs to be adjusted.
To avoid scratches on the floor when moving the speaker
around, do not remove the Spike–Protection–Styrofoam un-
til you have finally finished the set–up with toeing in and out
the speaker during the fine–tuning process. Only remove it
at the very end of the set–up.
ROOM PLACEMENT AND TOE–IN OF THE SYSTEM
• Choose a position for the speakers in your listening room.
Both speakers and your listening seat should form an ap-
prox. equilateral triangle. Ideally each side of the triangle
should be approx. 10 feet (3,0m).
• The speakers should be toed-in with the horns pointing
directly to the listening position.
3,0 m
60
0
SYSTEM AUFBAU TIPPS
NEIGUNG DES SYSTEMS
• Je nach Hörabstand und Höhe der Sitzposition ist die
Höhe der Hornsysteme wichtig. Sie kann durch ein Pei-
lungs-Prinzip eingestellt werden. Setzen Sie sich auf Ihren
Hörplatz und schauen Sie auf den Lautsprecher: Sie sollten
nun die Oberseite des Subwoofers gerade noch sehen.
Ist dies nicht der Fall, weil der Lautsprecher zu hoch oder
zu niedrig ist, können Sie:
① Die Höhe des Lautsprechers um bis zu 30mm durch
Drehen der vier Spikegriffe verändern. Eine Drehung im
Uhrzeigersinn hebt den Lautsprecher. Eine Drehung entge-
gen dem Uhrzeigersinn senkt den Lautsprecher.
② Ist Ihre Sitzposition auch bei Maximalposition der
Spikes zu hoch, können Sie das System durch Absen-
ken der hinteren Spikes auch leicht nach hinten neigen.
③ Ist Ihre Sitzposition auch bei Minimalposition der Spikes
zu niedrig, können Sie das System durch Anheben der hin-
teren Spikes auch leicht nach vorne neigen.
SYSTEM SET UP TIPS
INCLINATION OF THE SYSTEM
• Depending on the listening distance and the height of your
seat it might be important to raise or lower the speaker sys-
tems. This can be checked and aligned by a simple "bear-
ing" principle. Have a seat and look at the speakers: the top
of the subwoofers should barely be seen.
If this is not the case as the speaker is too high or too low,
you can:
① Increase or decrease the height of the speaker by up to
30mm by turning all four Micro–Levelling–Handles equally
up or down. A clockwise rotation will raise the speaker. A
counter–clockwise rotation will lower the speaker.
② If your seat is too high and the system can not be lifted
sufficiently, you can incline the speaker facing upwards by
lowering the rear of the speaker using the rear Micro–Lev-
elling–Handles.
③ If your seat is too low and the system can not be lowered
sufficiently, you can incline the speaker facing downwards
by raising the rear of the speaker.
①
②
21
