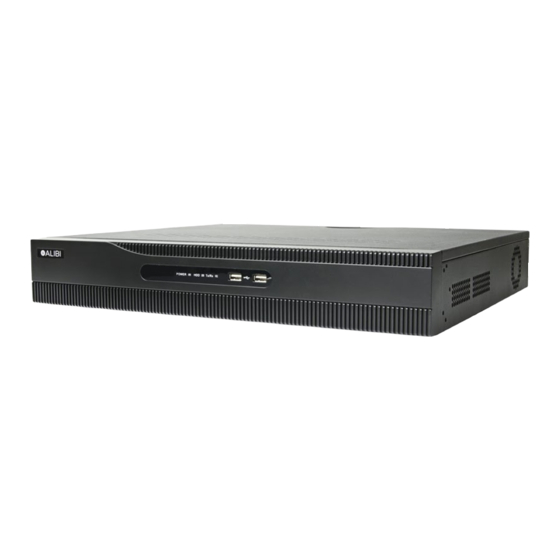
ALIBI ALI-NVR5316P Panduan Pengaturan Cepat - Halaman 5
Jelajahi secara online atau unduh pdf Panduan Pengaturan Cepat untuk DVR ALIBI ALI-NVR5316P. ALIBI ALI-NVR5316P 8 halaman. Embedded network video recorder

In the Wizard 2 Network Setup window, nothing usually has to change in the left column. You can enter your preferred DNS
a.
server addresses (optional, ex. 8.8.8.8 and 8.8.4.4 [Google] DNSs) in the Preferred .. and Alternate DNS fields.
b.
The column on the right shows that the Enable DHCP box is checked (by default) and the recorder acquired network settings
from a DHCP server. These settings are compatible with your network and the other devices that share it. To enable fixed
network settings, un-check the Enable DHCP box. Then you can either use the IPV4 parameters assigned by the DHCP server,
or enter your preferred IPV4 parameters (IPv4 Address, IPv4 Subnet Mask, IPv4 Default Gateway). NOTE: If you enter IPV4
parameters in the fields above, ensure that they do not conflict with other devices in the network.
c.
Click Next to save your settings and continue.
6.
In the Wizard 3 Hard Disk (HDD) menu, the HDDs installed in the recorder are listed, showing their Capacity, Status, Free Space, etc.
Usually HDDs will show a Normal status. If any HDD shows an Uninitialized status, it must be initialized (Init) before it can be used.
The screen below shows a single HDD system with Normal Status and maximum Free Space
If any HDD listed shows a status of Uninitialized (see screen below)it must be initialized (Init) to restore it to a usable condition.
NOTE: The initialization process erases all data on the disk.
5
www.Observint.com
To Initialize an HDD:
a.
Check the select box for the HDD(s) you want to initialize.
b.
Click the Init button.
c.
Wait for the operation to complete (this could take several minutes), and then click Next to continue.
7.
In the Wizard 4 Camera Setup menu, you can select add cameras discovered on the local network to your surveillance system. Most
recorders have a limit of how many network cameras can be added to the system. You can also use the recorder to Activate cameras
on the network. A camera must be activated before it can be added.
To activate a network camera with the NVR:
a.
Click the Search button to discover the cameras attached to your local network (network to which the recorder is attached).
b.
Scroll through the list of cameras found on the local network, and then check the select box for the cameras you want to
activate.
c.
Click the Activate button. Allow the operation to complete before continuing.
To add a network camera to the NVR:
a.
Click the Search button to discover the cameras attached to your local network (network to which the recorder is attached).
b.
Scroll through the list of cameras found on the local network, and then check the select box for the cameras you want to add.
See above.
c.
Click the Add button. Allow the operation to complete before continuing.
© 2018 Observint Technologies. All rights reserved.
