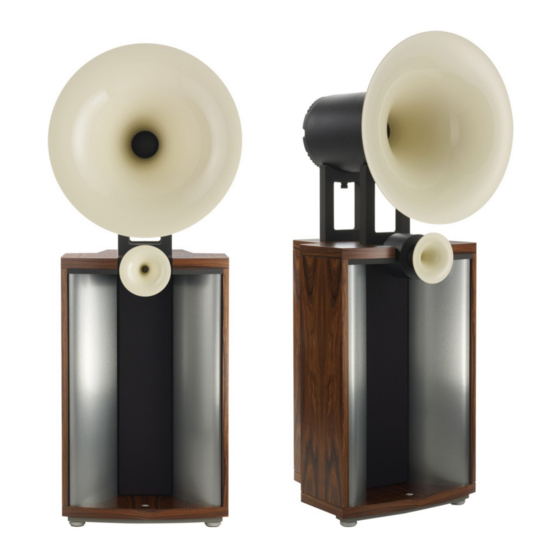
Avantgarde Acoustic DUO PRIMO Panduan Pengguna - Halaman 7
Jelajahi secara online atau unduh pdf Panduan Pengguna untuk Penguat Avantgarde Acoustic DUO PRIMO. Avantgarde Acoustic DUO PRIMO 17 halaman.

⓮
⓰
–MID
❶
–TOP
⓰
⓯
EARTH
⓭
⓰
–HIGH
❶
–BOTTOM
12
SPKR INPUT
LINE INPUT
SIG
GND
SIG
MUTE
XLR
SPKR
30 Hz
40 Hz
20 Hz
5
6
7
4
8
3
9
2
10
1
11
MID
LOW
HIGH
4
5
6
3
7
2
8
1
9
0
10
LED
EARTH 12V DC
CAUTION!
Do not open.
Risk of
electrical shock!
HPA105
SERIAL NO.
530 WATTS
100V (5,0 A slow)
115V (5,0 A slow)
230V (3,15 A slow)
SPKR INPUT
LINE INPUT
SIG
GND
SIG
MUTE
XLR
SPKR
30 Hz
40 Hz
20 Hz
6
5
7
4
8
3
9
2
10
1
11
MID
LOW
HIGH
5
4
6
3
7
2
8
1
9
0
10
LED
EARTH 12V DC
CAUTION!
Do not open.
Risk of
electrical shock!
HPA105
SERIAL NO.
530 WATTS
100V (5,0 A slow)
115V (5,0 A slow)
230V (3,15 A slow)
SYSTEM INSTALLATION
STANDARD VERKABELUNG DUO PRIMO
GILT NICHT FÜR DUO MEZZO!
① Den Mittelton–Eingang ⓮ und den Subwoofer–Eingang
❶–TOP mit der kurzen Kabelbrücke ⓰–MID verbinden. Die
Kabelbrücke befindet sich in der Zubehörbox.
② Den Subwoofer–Eingang ❶–TOP und den Hochton–
Eingang ⓭ mit der langen Kabelbrücke ⓰ verbinden. Die
Kabelbrücke befindet sich in der Zubehörbox.
③ Den Hochton–Eingang ⓭ und den Subwoofer–Eingang
❶–BOTTOM mit der kurzen Kabelbrücke ⓰–HIGH verbin-
den. Die Kabelbrücke befindet sich in der Zubehörbox.
④ Den Lautsprecher–Ausgang ⓯ des Vollverstärkers bzw.
der Endstufe mit dem Mittelton–Eingang ⓮ des Lautspre-
chersystems verbinden.
⑤ Erst jetzt die Subwoofer mit den beigepackten Netzka-
beln an das Stromnetz anschließen und einschalten.
BI–WIRING VERKABELUNG DUO PRIMO
GILT NICHT FÜR DUO MEZZO!
① Die lange Kabelbrücke ⓰ der Standardverkabelung
zwischen dem Subwoofer–Eingang ❶–TOP und dem
Hochton–Eingang ⓭ entfernen.
② Zusätzlich den Lautsprecher–Ausgang ⓯ des Vollver-
stärkers bzw. der Endstufe mit dem Hochton–Eingang ⓭
des Lautsprechersystems verbinden.
③ Erst jetzt die Subwoofer mit den beigepackten Netzka-
beln an das Stromnetz anschließen und einschalten.
SYSTEM INSTALLATION
STANDARD CONNECTION DUO PRIMO
NOT APPLICABLE FOR DUO MEZZO!
① Connect the Midrange–Input ⓮ and the Subwoofer–In-
put ❶–TOP with the short jumper cable ⓰–MID. The jump-
er cable is included in the accessory box.
② Connect the the Subwoofer–Input ❶–TOP and the Tweeter–
Input ⓭ with the long jumper cable ⓰. The jumper cable is
included in the accessory box.
③ Connect the Tweeter–Input ⓭ and the Subwoofer–In-
put ❶–BOTTOM with the short jumper cable ⓰–HIGH. The
jumper cable is included in the accessory box.
④ Connect the Speaker–Output ⓯ of your power (or inte-
grated) amplifier with the Midrange–Input ⓮ of the speaker
system.
⑤ Only now, connect the AC power cords of the compo-
nents to a household AC outlet and turn on the subwoofer.
BI–WIRING CONNECTION DUO PRIMO
NOT APPLICABLE FOR DUO MEZZO!
① Disconnect the long jumper cable ⓰ of the Standard–
wiring between Subwofer–Input ❶–TOP and Tweeter–
Input ⓭.
② Connect the Speaker–Output ⓯ of your power (or inte-
grated) amplifier with the Tweeter–Input ⓭ of the speaker
system using an additional speaker cable.
③ Only now, connect the AC power cords of the compo-
nents to a household AC outlet and turn on the subwoofer.
13
