Empire Sniper Panduan Pengguna - Halaman 9
Jelajahi secara online atau unduh pdf Panduan Pengguna untuk Peralatan paintball Empire Sniper. Empire Sniper 14 halaman.
You can adjust the Hammer Lug position using a 1/8" Allen wrench, turning it clockwise
will lower the Hammer Lug and counterclockwise will raise the Hammer Lug (Fig 5.3).
Auto-Trigger Adjustment
The Auto-Trigger allows the user to rapid fire their pump marker. When the Trigger is
held back, each forward pump stroke will fire a paintball.
The Auto-Trigger can be fine tuned by slightly adjusting the Hammer Lug position,
which adjusts the Trigger activation point. You should adjust the activation point only
when the marker is degassed and unloaded.
• Hold the Trigger back and slide the pump handle all the way back.
• Continue to hold the Trigger and begin to slide the pump handle forward. As you're
sliding it forward you will hear the Hammer release, this is your current activation point.
• While making slight adjustments to the Hammer Lug, look into the markers feed neck
to make sure the Bolt is sealing forward of the feed neck, when the Hammer is released.
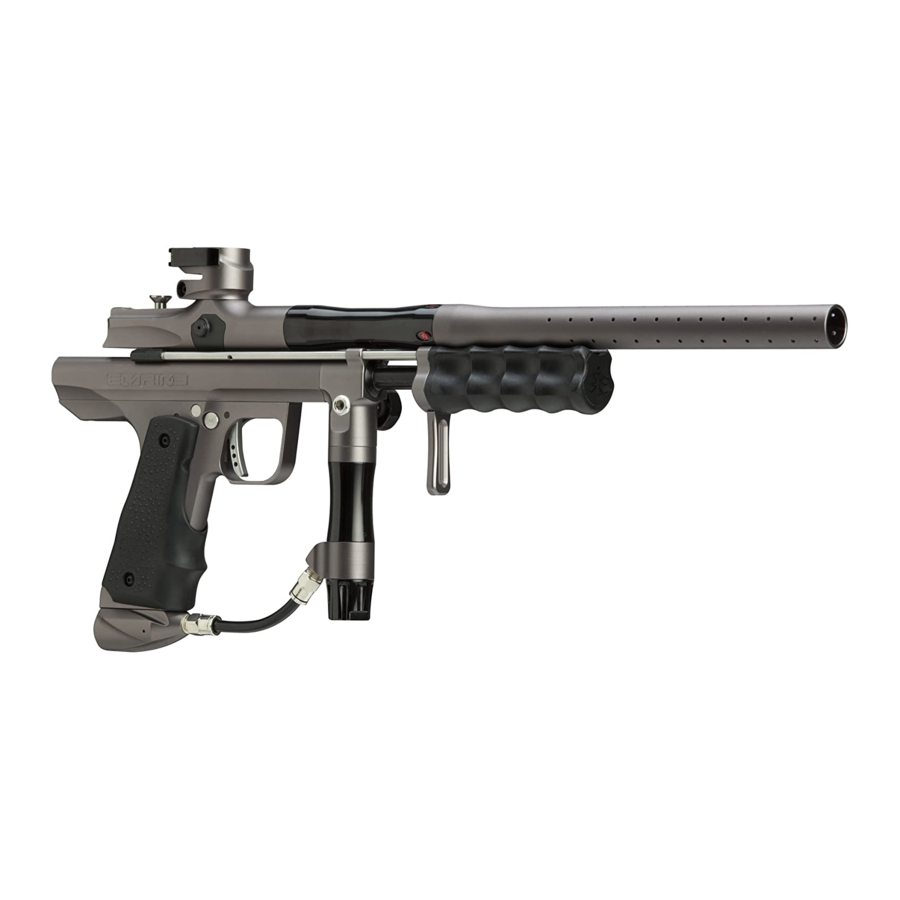
Vertical Pump Handle
The Sniper comes equipped with a Vertical Pump Handle. This handle can be removed
if desired by loosening the two screws on the back of the pump handle with a 5/32"
Allen wrench and then sliding the vertical handle out.
Pump Rod Adjustment
The Pump Rods are factory set so a paintball can freely fall into the breech of the
marker when the pump handle is at its most rearward position. The rearward pump
stroke limit can be adjusted by how far the Pump Rods are threaded into the Bolt Sled.
6. UNLOADING YOUR MARKER
Put on an eye protective device designed specifically for paintball and make sure that
anyone within range of your Empire marker does the same.
• Make sure the barrel blocking device is properly installed and the marker is set to
"Safe Mode".
• Remove the loader and all paintballs.
• While pointing the Empire marker in a safe direction, remove the barrel blocking
device and fire the marker several times to insure there are no balls remaining in the
chamber or the barrel.
• Properly re-install the barrel blocking device and set the marker Safety to "Safe Mode".
Removing Air Cylinder
• Put on an eye protective device designed specifically for paintball and make sure
that anyone within range of the Empire marker does the same.
• Make sure the barrel blocking device is properly installed on the marker.
• While pointing the Empire marker in a safe direction, flip the ASA On/Off lever
forward venting the air from the marker. Turn the air cylinder counter-clockwise
until it's free of the ASA.
• The marker is now ready to be cleaned and put away for future use.
7. INSTALLING THE 10-ROUND FEED SYSTEM
Included with the Empire Sniper is a 10 round feeding system that replaces the stock
clamping feed neck. If you wish to use the system, the stock feed neck has to be removed
first. It is recommended that you cover your markers body to prevent accidental damage,
just incase you were to slip with the screwdriver or similar tool while removing the feedneck.
• First remove all the hardware from the feedneck.
• Then carefully insert a flat head screwdriver into
the slot on the back of he feed neck and slightly
separate the two sides (Fig 7.1).
• Lift the feed neck of the body and re-install the
hardware (so it's not misplaced).
• Next remove the two screws on the 10rd adapter
and the cover plate using the 7/64" Allen wrench.
• Place the 10rd adapter on the marker
• Install cover and screws (Fig 7.2).
• Tighten screws until the adapter does not turn
freely.
E M P I R E P A I N T B A L L . C O M
Fig. 7.1
Fig. 7.2
5