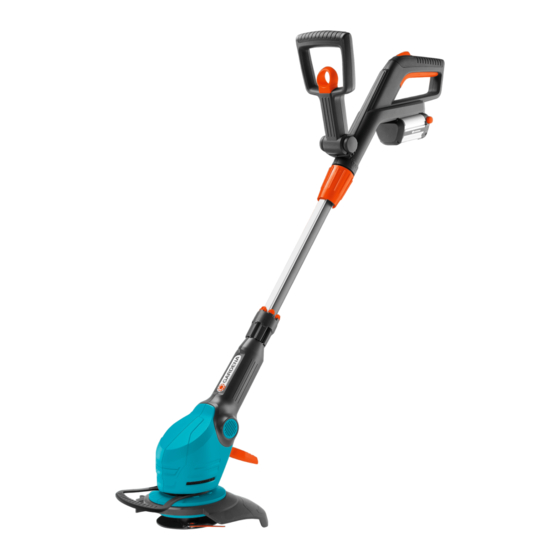
Gardena ComfortCut 9825 Panduan Petunjuk Pengoperasian - Halaman 6
Jelajahi secara online atau unduh pdf Panduan Petunjuk Pengoperasian untuk Pemangkas Gardena ComfortCut 9825. Gardena ComfortCut 9825 17 halaman. Accu turbotrimmer
Juga untuk Gardena ComfortCut 9825: Panduan Petunjuk Pengoperasian (16 halaman), Panduan Petunjuk Pengoperasian (18 halaman)

4. Initial Operation
Charging the battery:
4
5
5
9
8
2,6Ah
ß
ß
ß
ß
ß
B
L1
L2
L3
W
18
WARNING!
Overvoltage damages batteries and the battery charger.
v E nsure the correct mains voltage.
Before using for the first time, the battery must be fully charged.
Charging time (for uncharged battery) see 10. Technical Data.
The lithium-ion battery can be charged in any state of charge,
6
and the charging process can be interrupted at any time without
harming the battery (no memory effect).
1. Depress both locking buttons
the battery holder
2. Plug the plug of the charger cable
3. Plug battery charger
Charging indicator lamp
once per second: Battery is being charged.
Charging indicator lamp
Battery is fully charged.
(For charging time, see 10. Technical Data.)
Battery charging status indicator during charging:
100 % charged
7
66 – 99 % charged
33 – 65 % charged
0 – 32 % charged
Check the charge status regularly while charging.
4. Once completely charged, disconnect the battery
battery charger
8
charger
5. Slide the battery
it audibly engages.
Avoid exhaustive discharge:
If the battery is empty, the full discharge protection automatically
switches off the device to prevent the battery from discharging
fully. To prevent the fully charged battery from self-discharging
via the unplugged charger, it should be disconnected from the
charger after charging. If the battery was stored for more than
1 year, it must be fully recharged.
If the battery was fully discharged, the charging indicator lamp
will flash rapidly at the start of charging (twice per second).
If the charging indicator lamp
10 minutes, a fault has occurred (see 8. Troubleshooting).
If the error-LED
(see 8. Troubleshooting). In case of a completely empty battery
it will take approx. 20 minutes until the LEDs on the battery
will indicate charging. But the charging process is indicated by
the flashing LED
4
and remove the battery
6
on the handle.
8
into a mains socket.
9
at the charger unit flashes green
9
at the charger unit is lit green:
L1, L2 and L3 lit.
L1 and L2 lit, L3 flashing.
L1 lit, L2 flashing.
L1 flashing.
8
. Disconnect the battery
first, then unplug the battery charger
5
onto the battery holder
9
still flashes rapidly after
ß
on the battery flashes, a fault has occurred
W
9
on the charger.
5
7
5
into the battery
.
5
from the
5
from the battery
8
.
6
on the handle until
from
9
