Fronius 63A-1 Panduan Memulai Cepat - Halaman 10
Jelajahi secara online atau unduh pdf Panduan Memulai Cepat untuk Sistem Pengelasan Fronius 63A-1. Fronius 63A-1 10 halaman. Smart meter
Juga untuk Fronius 63A-1: Panduan Cepat (17 halaman), Panduan Cepat (20 halaman), Panduan Memulai Cepat (2 halaman), Panduan Memulai Cepat (2 halaman), Panduan Memulai Cepat (8 halaman)
/ Choose the type of meter.
/ Choose the installation location.
For further explanations on feed-in path and consumption path see chapter 1.2 Where to put the Fronius Smart
Meter
/ The meter is activated once you get the following message. Click OK!
Done!
For more information on the Fronius Datamanager V2 please see the Operating Instructions on the Fronius
website under Solar Energy / Products / System monitoring / Datalogging /Fronius Datamanager 2.0
or click:
http://www.fronius.com/cps/rde/xbcr/SID-DBD64F5C-
18F6818F/fronius_australia/42_0426_0191_EA_388899_snapshot.pdf
(c) Fronius Australia Pty. Ltd, 2015
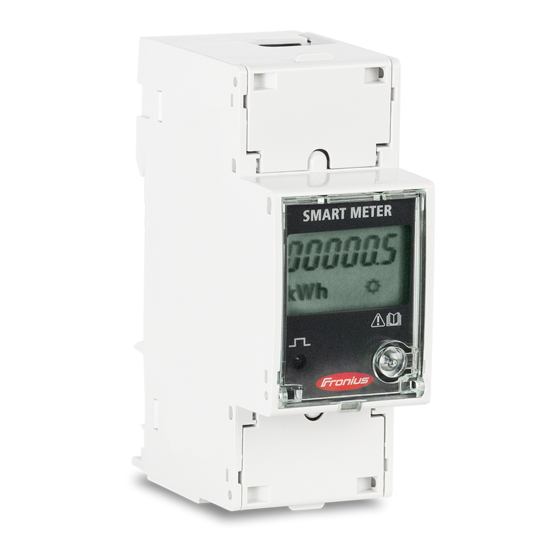
Select 'Fronius Smart Meter'
Select whether the meter is
located in the feed-in path or in
the consumption path
Save the setting by
clicking the tick!
10/10