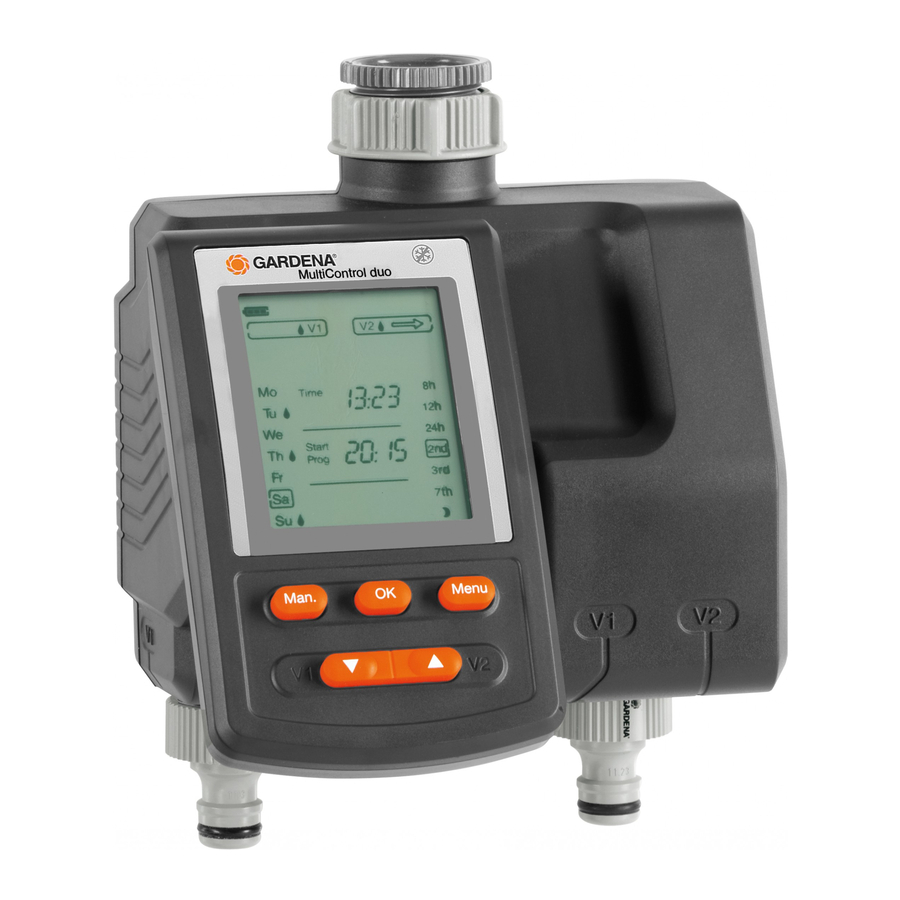
Gardena 1874 Panduan Petunjuk Pengoperasian - Halaman 7
Jelajahi secara online atau unduh pdf Panduan Petunjuk Pengoperasian untuk Peralatan Rumput dan Taman Gardena 1874. Gardena 1874 17 halaman. Water computer
Juga untuk Gardena 1874: Panduan Operator (17 halaman), Panduan Petunjuk Pengoperasian (17 halaman)

5. Programming
Set current time
and day of week :
[Level 2]
1.
2.
3.
4.
Watering modes :
To set the programme, the controller can be removed and
mobile programming can be carried out (see 4. Initial Operation
"Inserting battery" ).
Programming can be discontinued at any time by pressing the
Man. button. All programme data changed up to this time and
confirmed with the OK button is saved.
1. Press Menu-key [Level 2] (not necessary if the battery
has just been inserted).
The hours display and Time flash.
2. Set the time in hours with the ▼-▲ button
9
(example:
hours) and confirm with the OK-key.
Time and the minutes display flash.
3. Set the time in minutes with the ▼-▲ button
30
(example:
minutes) and confirm with the OK-key.
Time and the day of the week display flash.
4. Set day of week with the ▼-▲ buttons (e.g. (Tu) and confirm
with the OK button.
The display moves to the message "Entering watering
programme" of the watering mode "Scheduled watering"
[Level 3] .
Start Prog and the hours will flash on the display.
The Water Computer has 3 watering modes :
A) Scheduled watering :
With the "scheduled watering", watering begins as per the set
programme. There is the additional option to consider soil
moisture or rain in the watering programme. In the case of rain
or sufficiently moist soil, the programme's stop is activated or
activation of the programme is prevented. Manual watering
Man. + OK is still possible.
B) Direct sensor control :
With "direct sensor control", watering is exclusively controlled in
dependency on soil moisture between 20:00 and 06:00, if the
sensor has indicated dry. 1 or 2 Soil Moisture Sensors can be
connected.
C) Manual watering :
With "Manual watering", watering begins immediately after
Man. + OK has been pressed and can be operated indepen-
dently of the sensor status.
21
