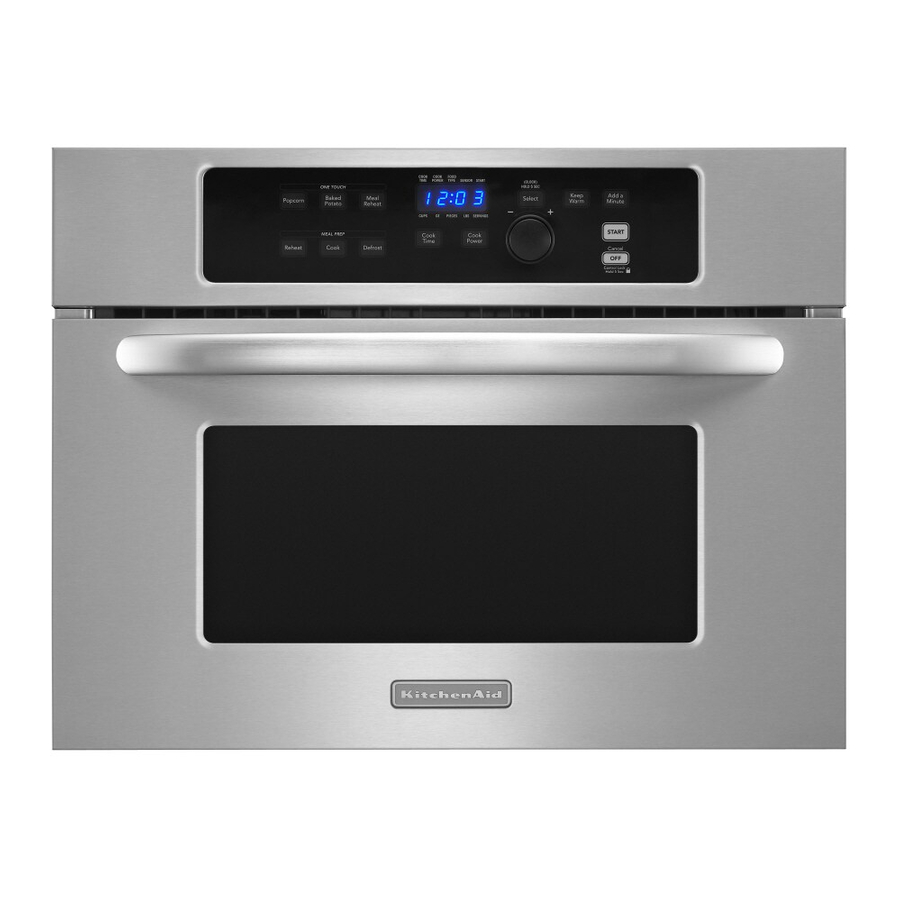
KitchenAid KBMS1454SSS - 24 in. Microwave Oven Panduan Petunjuk Instalasi - Halaman 6
Jelajahi secara online atau unduh pdf Panduan Petunjuk Instalasi untuk Oven Microwave KitchenAid KBMS1454SSS - 24 in. Microwave Oven. KitchenAid KBMS1454SSS - 24 in. Microwave Oven 8 halaman. Built-in microwave oven 24" (61.0 cm), 27" (68.6 cm), 30" (76.2 cm)
Juga untuk KitchenAid KBMS1454SSS - 24 in. Microwave Oven: Panduan Penggunaan dan Perawatan (16 halaman), Panduan Dimensi (1 halaman)

- 1. Built-In Microwave Oven Safety
- 1. Table of Contents
- 2. Installation Requirements
- 2. Tools and Parts
- 2. Location Requirements
- 2. Minimum Dimensions
- 2. Product Dimensions
- 2. Electrical Requirements
- 3. Installation Instructions
- 3. Install the Microwave Oven (24" [61.0 CM] Installation Only)
- 3. Install the Microwave Oven (27" [68.6 CM] or 30" [76.2 CM] Installation Only)
- 3. Complete Installation
- 4. Assistance
WARNING
Excessive Weight Hazard
Use two or more people to move and install
microwave oven.
Failure to do so can result in back or other injury.
NOTE: For this microwave oven, the door handle may be used for
lifting. Do not use any other portion of the control panel, side
brackets, front frame or trim for lifting.
1. Empty microwave oven of any loose items.
2. Using 2 or more people, slide the microwave oven all the way
into the opening.
3. Center the microwave oven within the opening. Open the
microwave oven door.
A
B
C
A. Microwave oven door facing frame
B. Cabinet
C. 1" T-10 screws (4)
4. Mark 4 holes (2 on each side) in the door facing frame of the
microwave oven.
5. To avoid damage to the frame while drilling during the next
step, close the door and remove the microwave oven.
6. Drill the 4 holes using 5/64" (2 mm) drill.
6
INSTALLATION INSTRUCTIONS
Install the Microwave Oven
(24" [61.0 cm] Installation Only)
WARNING
Electrical Shock Hazard
Plug into a grounded 3 prong outlet.
Do not remove ground prong.
Do not use an adapter.
Do not use an extension cord.
Failure to follow these instructions can result in death,
fire, or electrical shock.
7. With the microwave oven near the opening, plug the
microwave oven into the grounded 3-prong outlet.
8. Replace microwave oven in cutout opening.
9. Open the microwave oven door. The holes in the door facing
frame should align with the holes just drilled into the cabinet.
Fasten the microwave oven door facing to the cabinet using
four 1" T-10 screws.
10. Proceed to "Complete Installation" section.
